To perform barbell squats safely, set the rack correctly, use a stable stance, brace before every repetition, control the descent, and choose a load you can lift without losing position. Safety depends less on forcing a particular squat style and more on matching the setup, range of motion, and weight to your current mobility and skill.
This guide walks you through a safe barbell back squat from preparation to progression. It also explains what to check during each repetition, what to do when something feels wrong, and when a lighter squat variation is the better starting point.
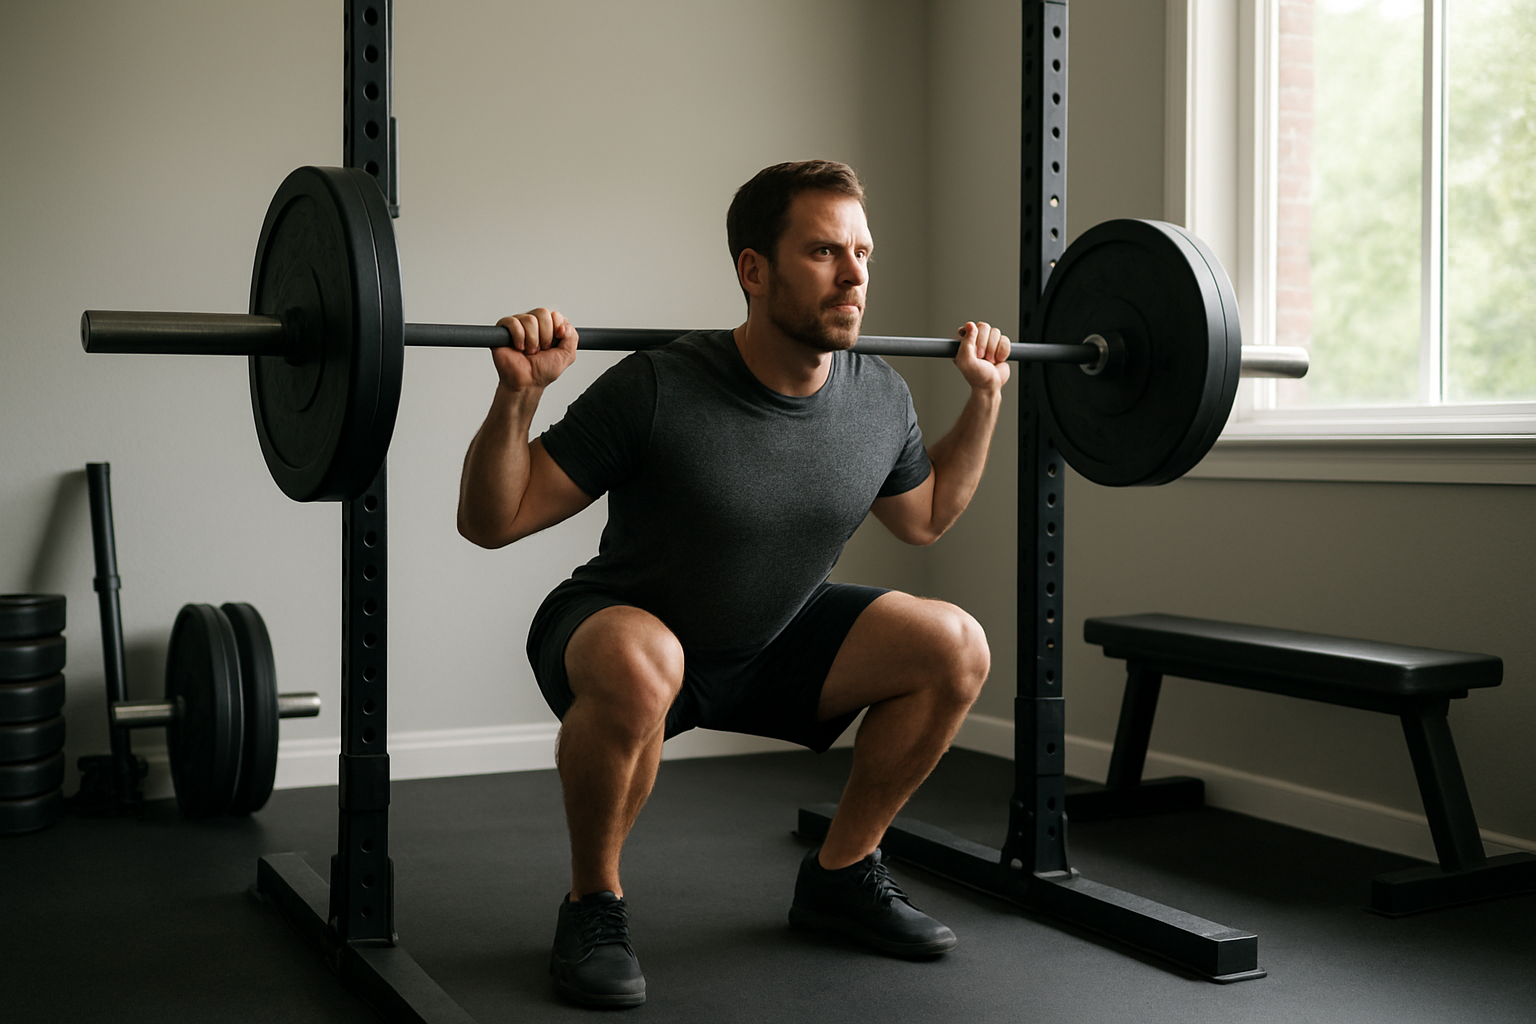
1. Prepare the rack, equipment, and training space
Before you unrack the bar, remove avoidable risks. Use a squat rack or power rack rather than balancing a loaded bar from the floor. Set the J-hooks so the bar sits around upper-chest to shoulder height when you approach it, allowing you to unrack with a small knee and hip bend instead of reaching up or standing on your toes.
Set the safety pins or straps slightly below the bottom of your normal squat. Test the position with an empty bar: if you had to lower the bar in an emergency, you should be able to sit it onto the safeties without folding forward excessively.
- Wear stable shoes with a firm sole; avoid soft running shoes for heavy squats.
- Check that collars, plates, hooks, and safety arms are secure.
- Keep the area clear behind and beside the rack.
- Use a trained spotter or a rack with properly positioned safeties for challenging sets.
If you are building a home gym, compare rack dimensions, safety features, and anchoring requirements in our guide to budget squat racks for home gyms.
2. Warm up and rehearse the movement
A warm-up should prepare the exact movement rather than exhaust your legs. Start with five to ten minutes of easy general activity, then perform a few controlled bodyweight squats. Add several rehearsal sets with the empty bar before using working weight.
Use the warm-up to identify limitations. A slight difference in stance width or toe angle may make it easier to keep your heels down and your knees tracking smoothly. There is no single stance that fits every body, so use the position that lets you squat under control without forcing your joints into an uncomfortable angle.
For mobility ideas, see these practical exercises for tight hips. If you cannot perform a controlled bodyweight squat, pause your barbell progression and practice a supported or goblet squat first.
3. Choose your bar position and stance
High-bar and low-bar options
In a high-bar squat, the bar rests across the upper trapezius muscles. This usually supports a more upright torso. In a low-bar squat, the bar sits lower across the rear shoulders, often requiring more forward torso lean. Both can be effective, but neither should create pressure on the neck or pain in the shoulders.
Place your hands as close as your shoulder mobility allows while keeping your wrists reasonably neutral. Pull the bar into your upper back to create a stable shelf. Do not rest the bar directly on the bony part of your neck.
Find a repeatable stance
Begin around shoulder width, with toes turned out slightly. Adjust in small increments if your knees collapse inward, your heels lift, or your hips feel restricted. Your knees should generally follow the same direction as your toes rather than being forced straight ahead.
Checkpoint: Perform three empty-bar squats. You should be able to keep your whole foot connected to the floor, maintain a controlled descent, and stand without twisting or shifting to one side.
4. Unrack and walk out safely
Take a breath, brace your trunk, and stand up with the bar before stepping away from the rack. Use as few steps as possible: one small step back, then one step to settle your stance if needed. Excessive walking wastes energy and increases the chance of losing balance.
Before the first repetition, look straight ahead or slightly downward at a fixed point. Avoid craning your neck upward. Recheck that the bar is centered and that both feet are evenly positioned.
| What to look for | Warning sign | Adjustment |
|---|---|---|
| Bar is balanced over your mid-foot | You feel pulled toward your toes or heels | Reduce the load and refine your bar position |
| Whole foot remains planted | Heels lift or toes grip the floor | Try a small stance or footwear adjustment |
| Knees track with toes | Knees collapse inward repeatedly | Use less weight and slow the descent |
| Torso stays controlled | Chest drops suddenly at the bottom | Improve bracing or shorten the range temporarily |
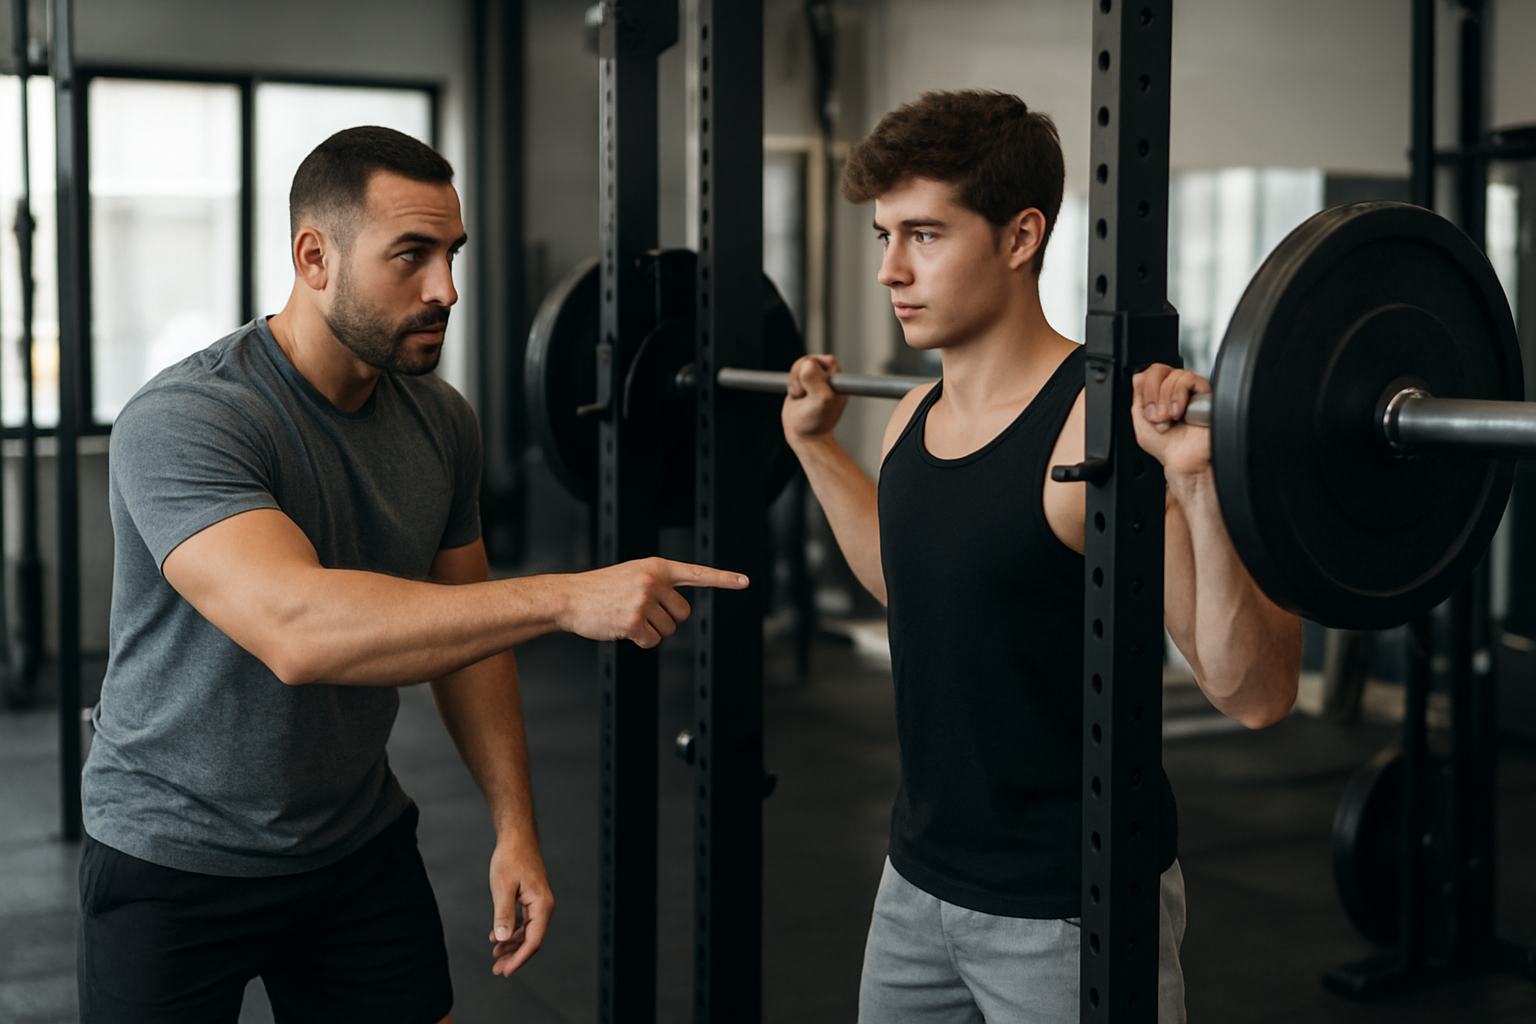
5. Perform each barbell squat repetition
Brace before you descend
Take a controlled breath into your abdomen and sides, then tighten your trunk as if preparing for a firm contact. Maintain that pressure through the descent and the hardest part of the ascent. You do not need to hold your breath longer than necessary; release and reset between repetitions when appropriate.
Descend under control
Unlock your hips and knees together, allowing them to bend naturally while your feet stay planted. Keep the bar traveling over the middle of your foot. Descend only as far as you can maintain a stable pelvis, controlled trunk, and smooth knee tracking.
Depth is individual. Reaching below parallel is not automatically safer or more effective for everyone, and stopping above parallel is not automatically wrong. The useful depth is the deepest position you can repeat without pain or a sudden loss of control. ACE discusses how anatomy and mobility can affect squat depth in its guidance on choosing squat depth.
Stand by driving through the floor
Reverse the movement smoothly from the bottom. Think about pushing the floor away while keeping your knees and toes aligned. Avoid bouncing aggressively out of the bottom or allowing your hips to rise much faster than your shoulders.
At the top, stand tall without leaning backward. Reset your breath and brace before the next repetition.
6. Rack the bar and judge the set
After your final repetition, walk forward until the bar contacts the rack uprights. Then lower it into the hooks with control. Do not turn your head to search for the hooks while carrying the load.
Review the set before adding weight. Ask whether the final repetition had the same stance, depth, bar path, and bracing as the first. If not, the set was probably too heavy, too long, or performed with too little rest.
7. Progress without sacrificing technique
Start with a load that leaves several technically clean repetitions available. Progress gradually by adding a small amount of weight, completing an additional repetition, or improving consistency before increasing intensity. A simple progressive overload plan can help you organize these changes without treating every session as a maximum-effort test.
For beginners, three to five working sets of roughly five to eight controlled repetitions can be a practical starting framework, but your schedule, experience, and recovery needs matter. The American College of Sports Medicine emphasizes consistent resistance training and training all major muscle groups regularly rather than relying on unnecessarily complicated programming. See its updated resistance-training guidance for broader programming context.
Safety notes, common mistakes, and troubleshooting
Common mistakes
- Using a load that changes your stance, depth, or bar path.
- Setting the rack too high and reaching to unrack the bar.
- Squatting in soft, unstable footwear.
- Forcing your knees outward or your torso upright beyond what your structure allows.
- Rushing the descent or bouncing out of the bottom.
- Continuing after sharp pain, numbness, dizziness, or a sudden loss of balance.
What if your heels lift?
Reduce the load and test a slightly wider stance, a modestly different toe angle, or a firm lifting shoe. If the problem persists, practice goblet squats and ankle mobility rather than compensating by leaning excessively forward.
What if your knees move inward?
Slow the repetition and use a lighter weight. Keep the knees moving in the same general direction as the toes, but do not aggressively force them outward. Persistent pain or instability deserves assessment by a qualified physical therapist or other healthcare professional.
When should you stop?
Stop the set for sharp or worsening pain, loss of balance, numbness, chest symptoms, unusual shortness of breath, or technique that cannot be corrected by reducing the load. If you have a recent injury, significant joint symptoms, or a medical condition affecting exercise tolerance, obtain individualized guidance before heavy barbell training.
Action checklist for your next squat session
- Set the J-hooks and safeties before loading the bar.
- Warm up with bodyweight and empty-bar squats.
- Choose a stance that keeps your feet planted and knees controlled.
- Unrack with a brace and take only a few steps back.
- Brace, descend smoothly, and use your deepest pain-free controlled position.
- Record the load, repetitions, and the form issue you need to improve.
Next actions
At your next workout, film one light set from the side and one from a front-quarter angle, provided your training space is safe. Check whether the bar stays over your mid-foot, whether your heels remain down, and whether your knees track consistently. Then choose your next load based on the weakest checkpoint, not on how much weight you hope to lift.
Learning how to perform barbell squats safely means building a repeatable process: secure the rack, find a comfortable position, brace before moving, control the range, and progress only when your technique is stable. If the barbell version remains uncomfortable, use a goblet squat, split squat, or other leg exercise while you address the limiting factor.