The best budget squat rack for a home gym is not necessarily the cheapest model. Look for a rack with a stable base, clearly stated steel specifications, properly sized J-hooks, and compatible safety arms or straps. For most home lifters, a compact power rack or well-built squat stand with spotter attachments offers the best balance of price, floor space, and usable safety.
A rack affects much more than your squat setup. It can support bench presses, overhead presses, rack pulls, pull-ups, and other barbell movements, but poor stability or missing safety equipment can make a low-cost purchase frustrating or unsafe. This review is based on current manufacturer specifications and product information from Rogue Fitness, Titan Fitness, American Barbell, and exercise-training guidance from the American College of Sports Medicine. It is a buying guide, not a report of personal testing.
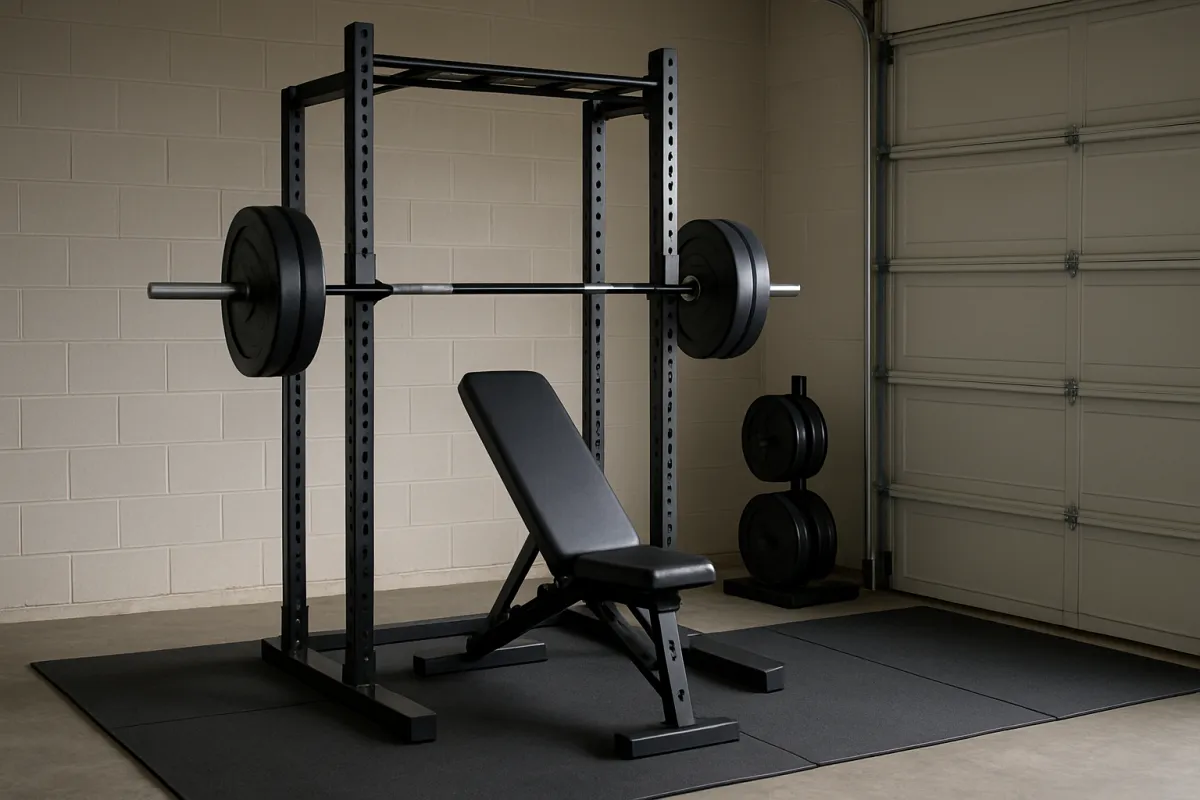
1. Decide which type of budget squat rack fits your training
“Squat rack” can describe several different designs. The right choice depends on how you train, how much room you have, and whether you need built-in protection when lifting without a spotter.
Squat stands
Squat stands use two separate uprights. They are often easier to move and can be a good choice for basic squats and presses, especially in a shared room or garage. However, they may provide less front-to-back stability than a connected rack, and safety arms are commonly optional rather than included.
Half racks
A half rack usually has a connected base or rear uprights but leaves the bar open at the front. It can offer a useful middle ground: more stability and storage potential than simple stands, with less enclosure than a power rack. Check whether the model must be bolted down before you plan to use it for heavy work.
Power racks
A power rack or cage surrounds the lifting area with four uprights. This design generally provides the most useful safety zone for solo training, particularly when it includes adjustable safety pins, straps, or spotter arms. It also tends to offer the best long-term accessory compatibility, although it needs more floor and ceiling space.
For a broader equipment strategy, you may also want to compare your rack purchase with a progressive overload plan for muscle gain. A rack is most valuable when it supports a consistent training system rather than simply adding another piece of equipment.
2. Check the construction before comparing prices
Budget equipment varies widely in material thickness, dimensions, weld quality, hardware, and finish. Do not judge a rack by its advertised weight capacity alone. A claimed capacity may refer to a specific component, a controlled test, or a manufacturer’s overall rating, so read the product manual and specifications carefully.
Steel size and gauge are useful comparison points. Current rack listings from major manufacturers show that home-gym products may use combinations such as 2-by-2-inch or 3-by-3-inch uprights and different steel gauges. For example, Titan lists 2-by-2-inch, 14-gauge steel on its T-2 series, while its T-3 series uses a different frame specification; Rogue lists 3-by-3-inch, 11-gauge steel on some Monster Lite stands. These examples show why model-level comparison matters more than the word “heavy-duty.” Review the Titan T-2 specifications and Rogue’s SML-2C details before deciding what construction level you need.
Also inspect the connection points. Bolted frames are easier to ship and sometimes easier to expand, while welded sections may feel simpler to assemble. Neither approach automatically makes a rack better; look for accurate hole alignment, substantial hardware, protective feet, and clear assembly instructions.
The table below summarizes the practical checks that matter most.
| What to look for | Why it matters | Warning sign |
|---|---|---|
| Stable base or four-post frame | Reduces movement while unracking and reracking a bar | Narrow feet, rocking during setup, or no anchoring guidance |
| Adjustable J-hooks | Lets you set the bar at a comfortable height for squats and presses | Few height positions or hooks that fit loosely |
| Safety pins, straps, or spotter arms | Provides a controlled place to lower a failed lift | Safety parts are absent, incompatible, or sold separately without clear pricing |
| Numbered or consistent holes | Makes setup faster and more repeatable | Unclear spacing or difficult-to-read specifications |
| Published dimensions and manual | Helps you confirm fit and assembly requirements | Only a marketing capacity number with no detailed measurements |
| Accessory compatibility | Allows the rack to remain useful as your training develops | No replacement parts or limited attachment information |
3. Treat safety equipment as part of the rack, not an optional extra
If you train alone, the safety system deserves as much attention as the uprights. A rack without properly positioned safety equipment may hold the bar, but it does not necessarily protect you during a missed squat or bench press.
Safety pins and straps sit inside a power rack. Spotter arms extend from a squat stand or half rack. The system must be long enough and positioned correctly for your bar path, bench height, and exercise. Read the instructions for the exact rack rather than assuming that an attachment from another series will fit.
Manufacturers often sell safety attachments separately. Rogue, for instance, lists safety spotter arms as an accessory for some squat stands, while Titan lists separate spotter arms and safety straps for certain rack families. This can make a seemingly inexpensive rack more costly once you add the parts needed for solo lifting. Check the S-1 stand and accessory options and compare them with the rack’s full delivered cost.
Use safety equipment as a backup, not as permission to lift beyond your control. Practice setting the safeties with an empty bar, keep the bar path clear, and follow the manufacturer’s assembly and anchoring instructions. If you are new to barbell training, a qualified coach can help you learn safe rack setup and bailout procedures.
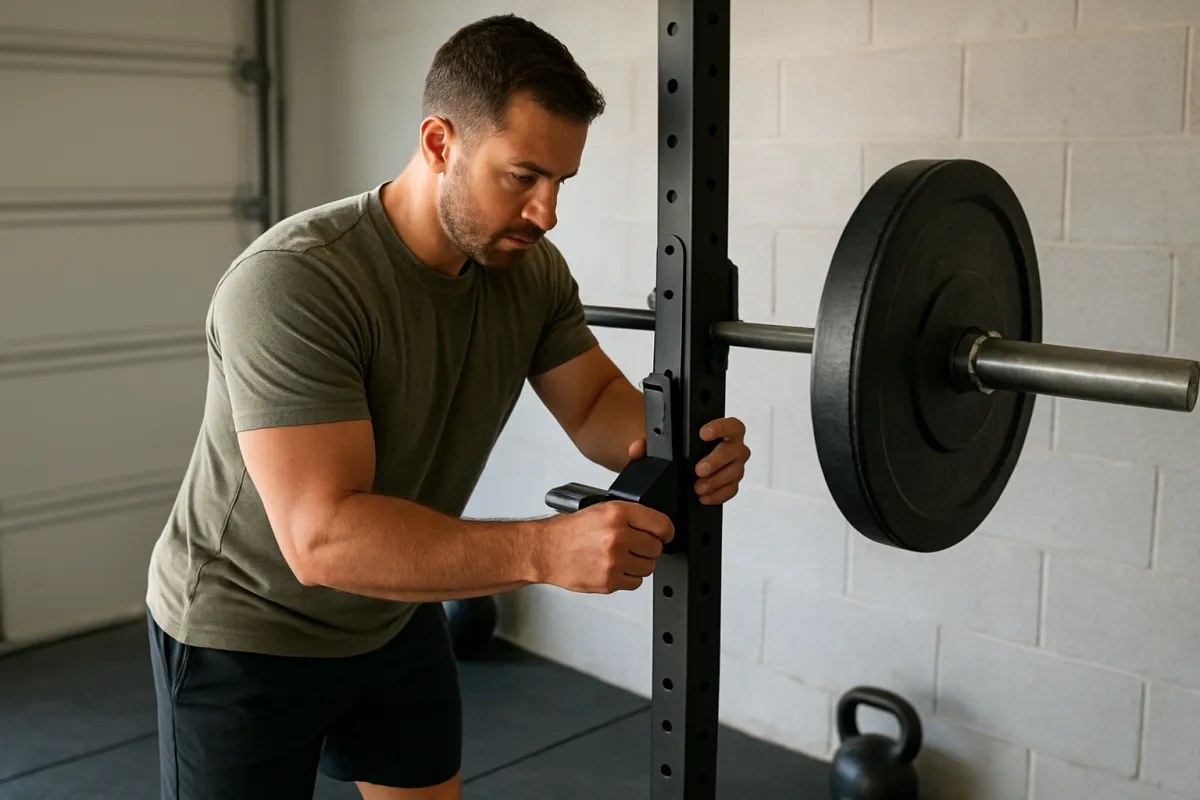
4. Measure your room and your complete setup
Measure the available floor area before ordering. Include the rack’s depth, the bench position, plate storage, barbell length, and enough clearance to load plates and move around the frame. A rack that technically fits against a wall may still be unusable if you cannot safely approach the bar.
- Measure ceiling height, including lights, beams, and garage-door hardware.
- Check whether the pull-up bar or top crossmember will fit overhead.
- Confirm the floor can support the rack, plates, and lifting platform.
- Allow room behind a half rack or power rack if the design requires anchoring.
- Plan where the barbell will rest when it is not on the rack.
For a small room, a shorter rack or squat stand may be more practical. For a garage gym, a deeper power rack may provide better exercise options and future expansion. The American College of Sports Medicine emphasizes the importance of adequate space and suitable equipment when planning a home gym; its home-gym planning guidance is a useful starting point.
5. Compare total cost and long-term value
Budget should include more than the frame. Add shipping, taxes, safety attachments, a bench, barbell, plates, floor protection, and possible anchoring hardware. A rack priced slightly higher may be the better value if it includes the safety system and has replacement parts available.
Current manufacturer listings also show that prices can change with sales, finishes, accessories, and stock status. For that reason, treat any displayed price as a snapshot and verify the product page before purchasing. Avoid choosing solely because a listing shows a temporary discount.
Compatibility is another part of value. A rack with common hole spacing and a documented attachment ecosystem may cost more at first but give you more options later. Conversely, an inexpensive proprietary rack may become costly if replacement J-hooks or safety arms are difficult to source.
6. Match the rack to your likely exercises
If your priority is squatting and overhead pressing, a stable stand with good J-hooks may be enough. If you bench press regularly, prioritize safeties that work at bench height and leave enough room for a safe bar path. If pull-ups, cable work, or storage matter, check the attachment list before buying.
- Beginner with limited space: A compact connected stand or short power rack with safeties.
- Solo lifter: A power rack with adjustable pins or straps is usually the safer direction.
- Progressive strength trainee: A rack with robust uprights, replaceable parts, and expansion options.
- Shared living space: A movable stand, provided you accept its stability limitations.
- Garage gym builder: A bolt-down half rack or power rack if the floor and ceiling allow it.
Equipment does not replace exercise selection or technique. You can pair a rack with a comparison of barbell squats and leg presses to decide whether the rack supports your actual lower-body plan.
Actionable buying checklist
- Measure the room, ceiling, bench area, and bar-loading clearance.
- Choose between a stand, half rack, or power rack based on solo-training needs.
- Verify upright size, steel gauge, dimensions, hole spacing, and stated capacity.
- Confirm that J-hooks and safety equipment are included or price them separately.
- Check whether the rack must be bolted to the floor.
- Review the assembly manual, warranty terms, return policy, and replacement-part availability.
- Calculate the complete delivered setup rather than comparing frame prices only.
Common mistakes when buying a budget squat rack
- Buying the lowest listed price: The required safeties, shipping, and hardware can change the final cost.
- Ignoring height: A rack that fits the floor may not fit beneath your ceiling.
- Assuming capacity equals stability: A high rating does not tell you how the rack behaves while reracking a bar.
- Skipping anchoring requirements: Some frames are intended to be secured before heavy use.
- Forgetting bench compatibility: Safety pins may not align well with your bench height.
- Buying incompatible attachments: Similar-looking racks may use different hole sizes or spacing.
What if the rack moves, feels too tall, or lacks accessories?
If the rack shifts during use
Stop loading it heavily and check assembly, floor contact, hardware tightness, and anchoring instructions. Do not try to solve serious movement by adding improvised weights or household objects unless the manufacturer specifically allows that setup.
If the rack is too tall
Look for a short version designed for low ceilings, but confirm that the shortened height still allows your preferred bar position and pull-up movements. A low ceiling may also rule out some top-mounted accessories.
If safety attachments are unavailable
Contact the manufacturer before substituting another brand’s parts. If compatible safeties cannot be obtained, choose a different rack or restrict use to exercises and loads that do not create an unacceptable failure risk.
Next actions before you buy
Write down your ceiling height, available floor depth, current barbell length, bench height, and heaviest planned working weight. Then compare two or three rack types using the same checklist, including safety equipment and delivery costs.
For most people searching for the best budget squat racks review for home gyms, the conditional choice is straightforward: select a power rack when solo lifting, future progression, and safety matter most; choose a squat stand when space, portability, and basic barbell work are the priorities. The best purchase is the least expensive rack that still fits your room, supports your training plan, and provides a properly compatible safety system.