To improve push-up strength at home, practice a manageable push-up variation two or three times per week, keep every repetition technically controlled, and gradually increase the difficulty or total work. The most effective plan combines full-range push-ups with easier variations, pauses, slow lowering, and exercises that strengthen the chest, shoulders, triceps, and core.
Push-ups are simple, but progress can stall if you train to failure every day or repeat the same number of rushed repetitions. This guide will help you assess your starting point, choose the right variation, structure your training, and adjust the plan when your progress slows.
1. Prepare your space and check your starting point
You need a stable floor, enough room to extend your body, and a surface that will not slide beneath your hands or feet. A folded exercise mat can make the session more comfortable, but it should not be so soft that your hands sink or your wrists bend excessively.
Warm up for five to eight minutes before testing or training. Include arm circles, shoulder-blade movements, light marching, and a few wall or incline push-ups. The goal is to raise your temperature and rehearse the movement, not to fatigue your chest.
Perform a strict-form baseline test
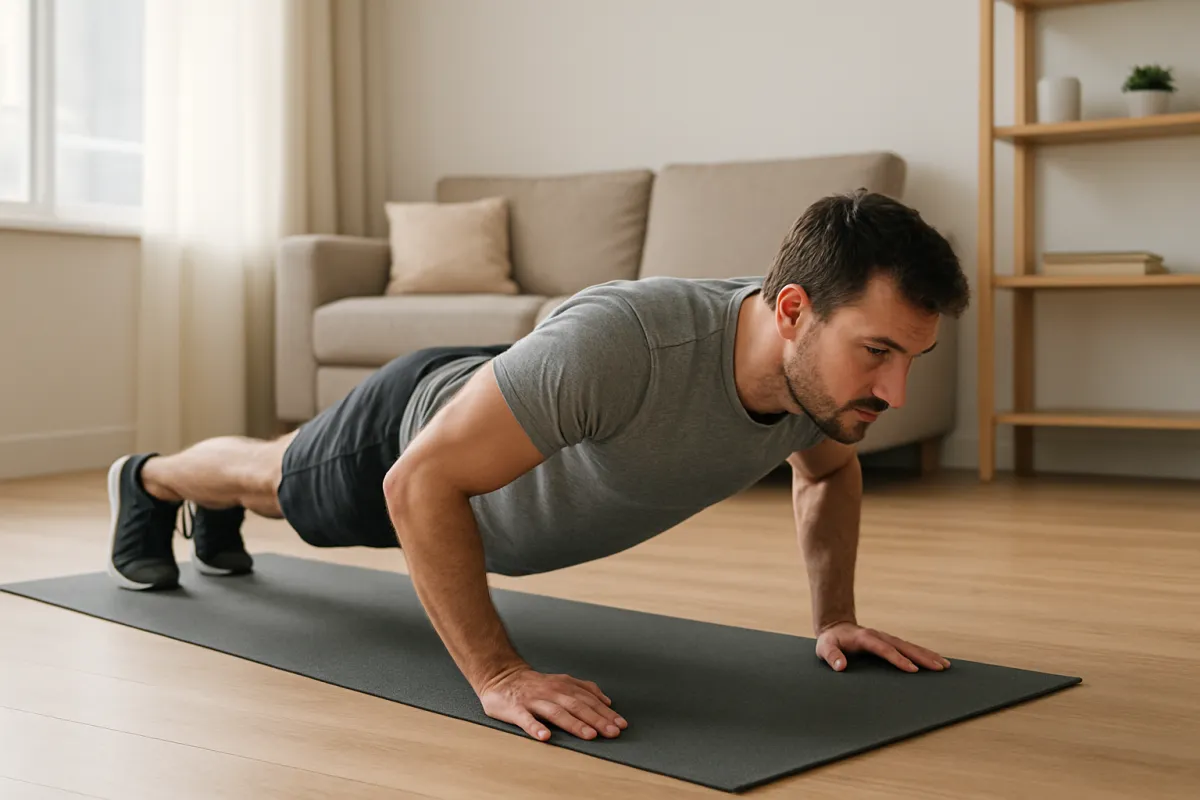
Start in a high plank with your hands slightly wider than shoulder width. Brace your stomach, keep your hips level, lower your chest under control, and press up without letting your elbows flare dramatically. Stop when your body position changes or your range of motion becomes noticeably shorter.
- Beginner: fewer than five strict floor push-ups.
- Developing: five to 15 strict repetitions.
- Intermediate: more than 15 strict repetitions with consistent depth and alignment.
Record your best clean set, but do not treat it as a daily target. This number helps you select an appropriate training variation and measure progress after several weeks.
2. Choose the right push-up variation
The best variation is difficult enough to require effort but easy enough that you can maintain the same technique from the first repetition to the last. If standard push-ups cause your hips to sag, begin with an incline variation rather than forcing incomplete floor repetitions.
The table below gives a practical way to match the exercise to your current ability.
| Variation | What to look for | Warning sign |
|---|---|---|
| Wall push-up | Useful for learning hand position and shoulder control | Leaning from the waist instead of moving as one unit |
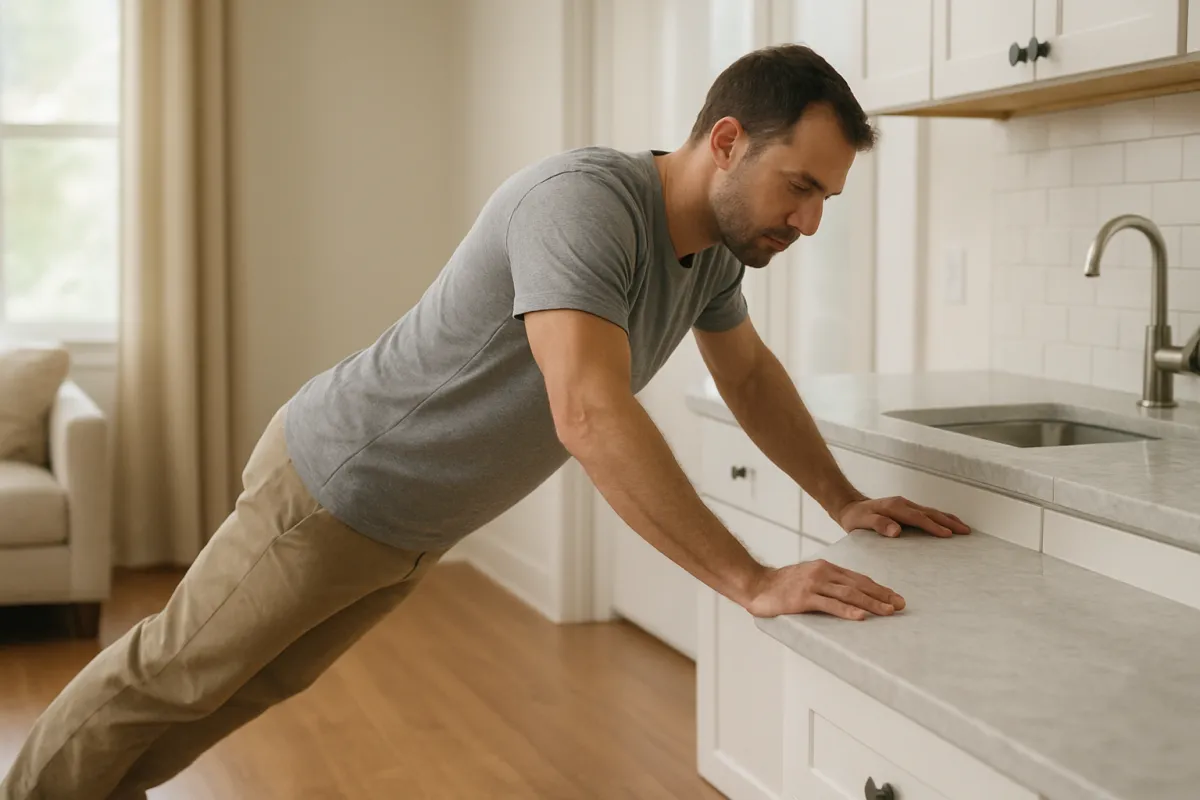
| Incline push-up | Hands on a firm table, countertop, or sturdy bench | Using a surface that rocks, slides, or is too high to challenge you |
| Knee push-up | Chest, hips, and shoulders move together | Keeping the hips far behind the knees |
| Standard push-up | Full-body plank with controlled depth | Elbows flaring, neck reaching, or lower back arching |
| Feet-elevated push-up | More load through the upper chest and shoulders | Shoulder discomfort or loss of trunk control |
| Close-grip push-up | Hands slightly narrower to increase triceps demand | Hands excessively close or wrists painful |
Progress when you can complete all planned sets with clean form and still have roughly one or two good repetitions available. Then lower the incline, move from knees to toes, add a pause, or use a more demanding variation.
3. Use a weekly strength routine
For most people, two or three push-up sessions per week are enough. Leave at least one day between hard sessions so your muscles and connective tissues can recover. Adults are generally advised to include muscle-strengthening activity on at least two days per week, and push-ups are one example of that activity in the U.S. Physical Activity Guidelines.
A simple three-day plan
- Day 1 — Practice strength: 4 sets of 4 to 8 challenging push-ups. Rest two to three minutes between sets.
- Day 2 — Build volume: 3 to 5 sets of an easier variation for 6 to 12 controlled repetitions.
- Day 3 — Technique and control: 3 sets using a three-second lowering phase, or add a one-second pause near the bottom.
If you currently cannot perform floor push-ups, use an incline or knee variation for the same structure. If you can perform more than 20 repetitions easily, choose a harder variation instead of simply adding endless repetitions.
Rest between sets until you can repeat the movement without rushing. For strength-focused work, longer rests are often more useful than turning every set into a conditioning circuit.
4. Improve the muscles that limit your push-up
A push-up requires more than chest strength. Your triceps finish the press, your shoulders control the upper-body position, and your abdominal and glute muscles stop your body from folding in the middle.
Add two or three of the following exercises after your main push-up work:
- High-plank shoulder taps: 2 to 3 sets of 8 to 16 total taps, keeping your hips as still as possible.
- Slow negative push-ups: 3 to 5 repetitions with a three- to five-second descent. Return to the top from your knees if needed.
- Close-grip incline push-ups: 2 to 4 sets of 6 to 12 repetitions for additional triceps practice.
- Resistance-band rows: 2 to 4 sets of 8 to 15 repetitions to balance pressing work with pulling strength.
- Plank variations: 2 or 3 sets of 20 to 45 seconds, stopping before your lower back begins to arch.
If you want more home-training ideas, see how to strength train at home without a bench and the comparison of resistance bands versus suspension trainers.
5. Progress gradually instead of training to failure daily
Use one progression method at a time. You might add one repetition to each set, add a set, lower an incline, slow the eccentric phase, or move to a harder variation. Once you make a change, keep it for at least one or two sessions so you can judge whether your form remains consistent.
A practical rule is to increase your total weekly repetitions by a small amount, then hold steady when fatigue accumulates. For example, if you complete 24 quality repetitions this week, aim for approximately 26 to 30 next week rather than doubling the workload.
Do not test your maximum set every workout. A frequent maximum effort can make your technique deteriorate and may leave your elbows, wrists, or shoulders irritated. Retest after three or four weeks under similar conditions.
6. Troubleshoot common plateaus
What if you cannot do a full push-up?
Raise your hands on a sturdy surface and practice the same body position. Gradually use a lower surface as you become stronger. Knee push-ups can also help, but keep your shoulders, hips, and knees aligned rather than bending only at the elbows.
What if your hips sag?
Reduce the difficulty and brace before each repetition. Imagine drawing your ribs toward your pelvis while squeezing your glutes. Shorter, technically sound sets will build more useful strength than long sets with a collapsed midsection.
What if your wrists hurt?
Try placing your hands on push-up handles or closed fists only if the position feels stable and comfortable. You can also use an incline to reduce the load. Persistent pain, swelling, numbness, or pain that worsens during normal activities should be assessed by a qualified healthcare professional.
What if your shoulders hurt?
Check that your elbows are not forced straight out to the sides and that you are not lowering beyond the range you can control. Switch to an easier variation and stop if you feel sharp pain, instability, or symptoms that continue after training.
7. Avoid these common mistakes
- Training push-ups hard every day without recovery.
- Counting partial repetitions as if they were full-range repetitions.
- Starting with a difficult variation because it looks impressive.
- Letting the head reach forward before the chest lowers.
- Ignoring pulling exercises and training only the front of the shoulders.
- Changing several variables at once, making progress difficult to measure.
- Skipping warm-ups when your wrists or shoulders feel stiff.
8. Use this checklist and take your next steps
- Test one strict-form baseline set.
- Choose a variation that allows controlled repetitions.
- Schedule two or three sessions this week.
- Leave one or more recovery days between demanding sessions.
- Keep one or two repetitions in reserve on most sets.
- Record sets, repetitions, variation, and any discomfort.
- Progress only when your form remains stable.
For your next workout, begin with a five-minute warm-up, complete four controlled sets of your selected variation, and stop each set before technique breaks down. After three weeks, compare your total quality repetitions or your ability to use a harder variation. If recovery is poor, reduce volume; if every set feels easy, make the movement slightly more demanding.
Learning how to improve push-up strength at home is mainly a process of matching the exercise to your current ability and progressing patiently. Consistent practice, clean alignment, adequate recovery, and a few supporting movements will usually matter more than performing maximum-repetition tests every day.
For broader progression ideas, read this beginner’s guide to progressing a home workout. You can also explore home gym equipment for small spaces if you want simple tools for adding resistance later.