To improve bench press technique safely, use a stable setup, keep your wrists stacked over your elbows, lower the bar with control, press through your feet, and stop a set when your form changes. You do not need to force a dramatic arch or test your maximum weight to make progress.
Small technical adjustments can make the lift more consistent and easier to evaluate. This guide walks you through preparation, setup, bar control, breathing, progression, and the safety checks that help you train your bench press with greater confidence.
1. Prepare the bench press station before you lift
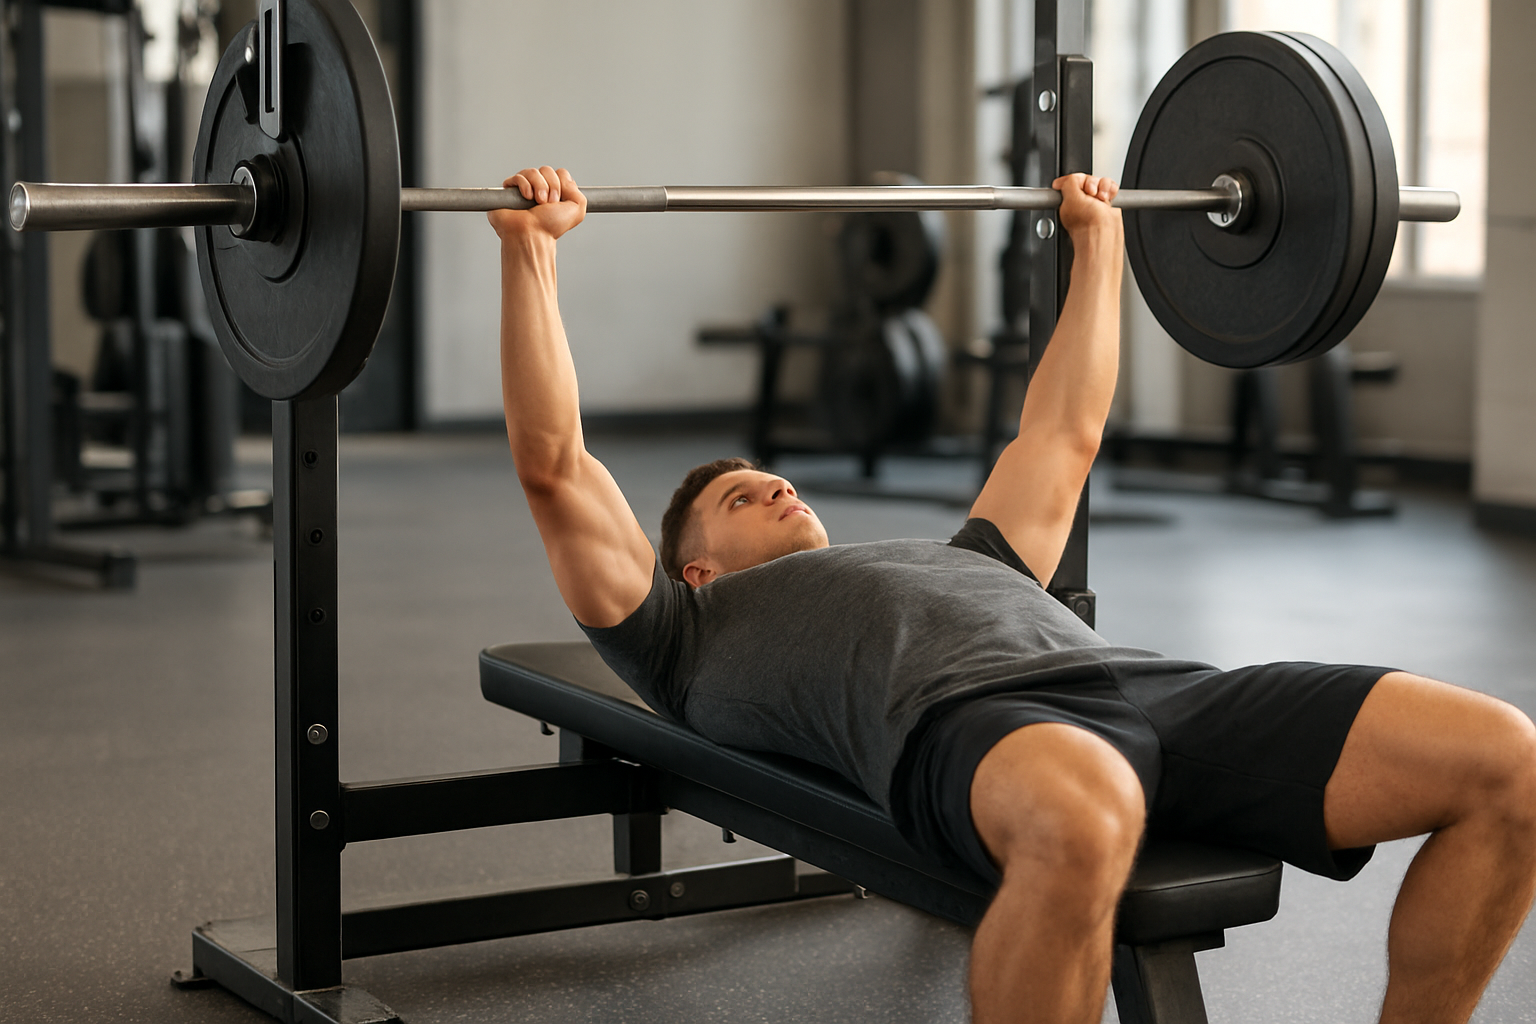
A safe bench press begins before you touch the bar. Check that the bench is centered, the rack is stable, and the bar supports are set so you can unrack without shrugging your shoulders forward.
- Use a flat, non-slip bench with enough width to support your upper back.
- Set the rack height so your elbows are only slightly bent when the bar is unracked.
- Place safety pins or arms just below the lowest point of your normal bar path.
- Remove loose plates, bags, and other equipment from the area around the bench.
- Arrange a spotter before attempting a heavy set or unfamiliar load.
The American Council on Exercise demonstrates a controlled chest-press setup that emphasizes foot pressure, stable contact with the bench, and neutral wrists. Use its bench press exercise reference as an additional visual check.
2. Build a repeatable starting position
Lie down with your eyes roughly beneath the bar. Place your feet where they can remain firmly planted throughout the set, then pull your shoulder blades back and down so your upper back feels supported by the bench.
Keep your head, upper back, and hips in contact with the bench. A modest natural arch in the lower back is acceptable for many lifters, but do not exaggerate it to compensate for poor bracing or limited mobility.
Check your grip and wrist position
Use a grip that allows the forearms to look close to vertical when the bar reaches your chest. For many people, this means hands slightly wider than shoulder width, but the best width depends on your arm length, shoulder comfort, and goal.
Wrap your thumbs around the bar and keep the bar low in the palm rather than resting it near the fingers. Your wrists should stay stacked over your forearms instead of bending sharply backward.
Checkpoint: Before unracking, you should be able to identify the same foot position, hand spacing, shoulder position, and head position you will use on every repetition.
3. Unrack the bar without losing your position
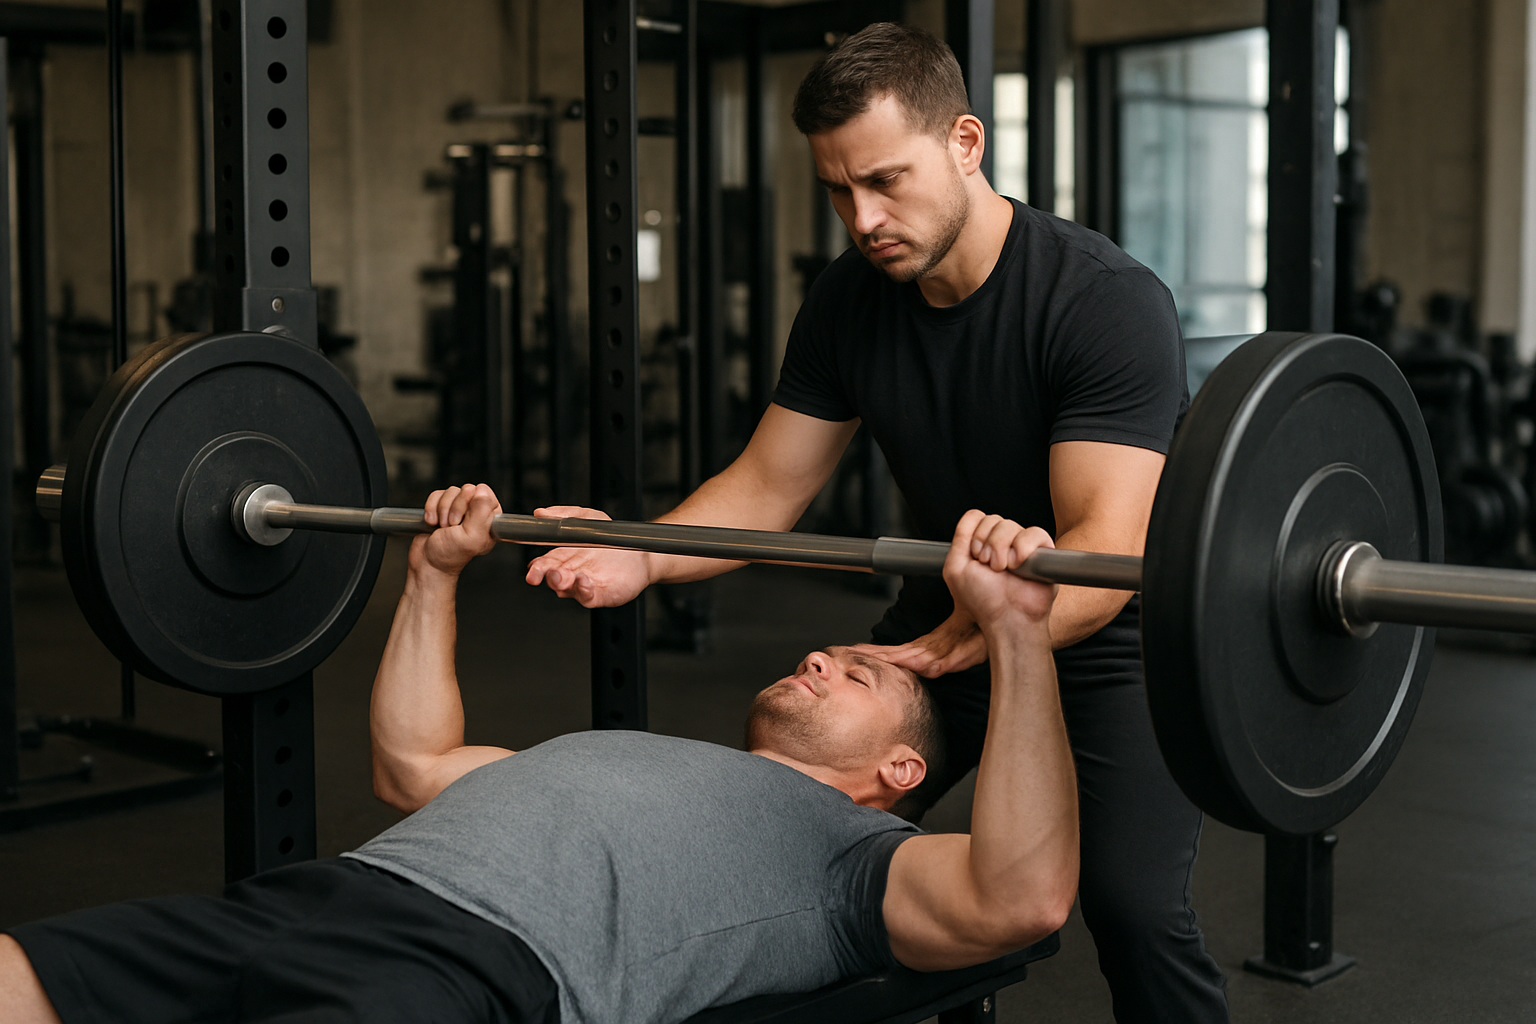
Take a breath, brace your trunk, and press the bar out of the supports rather than lifting it forward with your shoulders. If possible, have a spotter help guide the bar straight out and over your shoulder joints.
Once the bar is above your shoulders, pause briefly and confirm that your elbows are not already flared, your feet have not shifted, and your upper back remains tight. This short pause prevents a rushed first repetition.
4. Control the descent and choose a consistent touch point
Lower the bar under control toward the lower portion of your chest or the area where your sternum and upper chest meet. The exact touch point varies with body proportions, but the bar should not drift toward your neck.
Allow your elbows to travel at a moderate angle from your torso rather than pointing directly sideways. Think of bringing your elbows toward the floor while keeping your forearms under the bar.
| Technique feature | What to look for | Warning sign |
|---|---|---|
| Grip | Wrists stacked over forearms with a full thumb-wrapped grip | Wrists fold backward or hands feel unstable |
| Bar path | Bar lowers toward the lower chest and rises slightly back toward the rack | Bar travels toward the face or bounces off the chest |
| Elbows | Elbows remain controlled and generally under the wrists | Elbows flare suddenly as the weight becomes difficult |
| Lower body | Feet stay planted and hips remain on the bench | Feet slide, hips lift, or the body twists |
| Tempo | Quiet, predictable descent with a brief controlled transition | Dropping the bar or using momentum to start the press |
ACE also advises avoiding a bounce and maintaining a stable body position during chest-press variations. You can review its step-by-step chest press instructions when comparing your movement on video.
5. Press with your whole body while keeping the bar controlled
As the bar touches your chosen point, drive your feet into the floor and press the bar upward. Your hips should stay on the bench; leg drive should create tension through the body, not turn the repetition into a bridge.
Press the bar slightly back toward the rack as it rises. At lockout, the bar should be over your shoulder joints rather than far in front of them. Keep your elbows extended without aggressively snapping them into position.
Exhale gradually as you pass the hardest part of the repetition. For heavier sets, many experienced lifters use a controlled breath hold during the descent and initial press, but this technique requires practice and may not be appropriate for everyone.
6. Use a load that lets you practice the movement
Technique improves fastest when the weight is challenging enough to require focus but light enough that you can repeat the same positions. If your bar path changes, your hips lift, or your elbows flare early, reduce the load rather than forcing the set.
Progress gradually by adding a small amount of weight, one repetition, or an additional set—not all three at once. The American College of Sports Medicine emphasizes consistent resistance training and gradual progression rather than unnecessary complexity. Its updated resistance-training guidance provides broader programming context.
Film one working set
Place your phone at a three-quarter angle where it can capture your hands, bar, chest, hips, and feet. Review whether the bar touches the same area on each repetition and whether your shoulders remain stable.
Do not judge technique from one difficult final repetition alone. Compare several moderate-load sets and look for a repeatable pattern.
7. Add supporting exercises when a specific weakness limits you
Use accessory work to address a clear problem rather than adding random exercises. Keep the main bench press technically focused and choose variations that match the part of the lift you struggle with.
- Weak off the chest: Use paused bench presses with a lighter load and strict control.
- Bar stalls near the middle: Strengthen the upper back and triceps while maintaining a consistent press path.
- Unstable shoulders: Reduce load, improve upper-back positioning, and consider dumbbell or machine pressing temporarily.
- Uneven lockout: Ask a coach to check grip width, shoulder position, and whether one side loses contact with the bench.
For broader programming choices, compare free weights and machines for muscle building rather than assuming every weakness requires more barbell work.
Safety notes for bench pressing
Use a spotter or properly adjusted safety arms when lifting near your limit. The National Strength and Conditioning Association has discussed how the presence of a spotter can influence bench press performance, while a spotter should still understand how and when to assist.
Stop immediately if you feel sharp pain, sudden weakness, numbness, unusual shoulder instability, or pain that worsens from set to set. Seek qualified medical or physical-therapy advice for persistent symptoms, previous injuries, or uncertainty about returning to pressing after an operation.
If you have been inactive, have a known medical condition, or plan to begin vigorous training, the American Heart Association recommends discussing an appropriate activity plan with your healthcare team. Its guidance on strength and balance exercise is a useful starting point.
Common mistakes that reduce progress
- Choosing grip width based only on appearance instead of shoulder comfort and forearm alignment.
- Lowering the bar quickly and relying on a bounce from the chest.
- Losing upper-back tension after the first repetition.
- Letting the bar drift toward the neck or press too far forward.
- Adding weight while ignoring repeated changes in bar path.
- Using a spotter as a second lifter instead of stopping when the set is no longer controlled.
What if your bench press technique still feels inconsistent?
If your shoulders hurt
Reduce the load and test a slightly narrower grip, a slower descent, or dumbbell pressing with a comfortable range. Do not push through sharp or worsening pain.
If you cannot keep your hips down
Lower the weight, move your feet slightly farther forward, and practice bracing with your glutes lightly engaged. If the problem continues, ask a qualified coach to assess your setup.
If you miss the same point every time
Record the lift from the side and three-quarter angles. Identify whether the issue begins during the descent, at the chest, or near lockout, then choose one targeted variation for several weeks.
Bench press technique checklist
- Rack height allows a clean unrack.
- Thumbs are wrapped around the bar.
- Wrists stay stacked over forearms.
- Upper back remains tight.
- Feet stay planted and hips stay on the bench.
- Bar touches a consistent chest position.
- Each repetition uses a controlled descent.
- You have a spotter or functioning safety arms for challenging sets.
Next actions for your next bench session
- Record your current grip width, bench position, and working weight.
- Perform two warm-up sets while checking your five points of contact.
- Complete moderate-load working sets with the same touch point and bar path.
- Film one set from a three-quarter angle.
- Change only one technical variable in your next session.
- Increase the load only after you can repeat the movement without compensation.
Improving bench press technique safely is mainly a process of making the lift repeatable. Build a stable setup, control the bar through the same path, use appropriate safety equipment, and progress only when your form remains consistent. Those habits will do more for long-term strength than chasing a heavier single before your technique is ready.