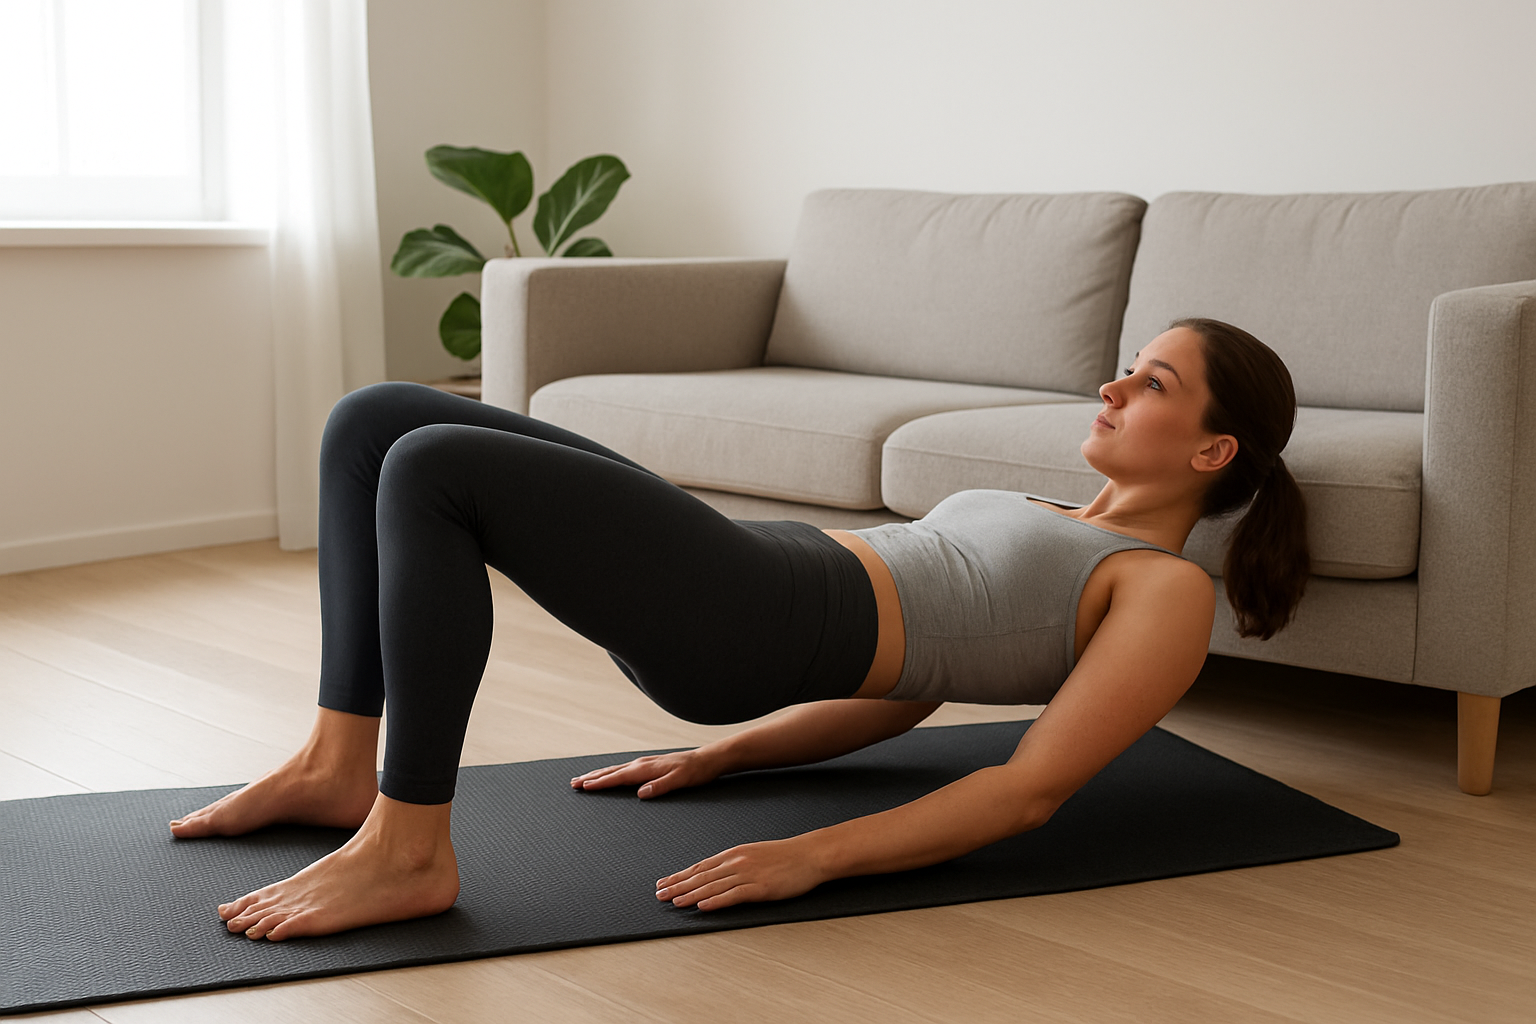
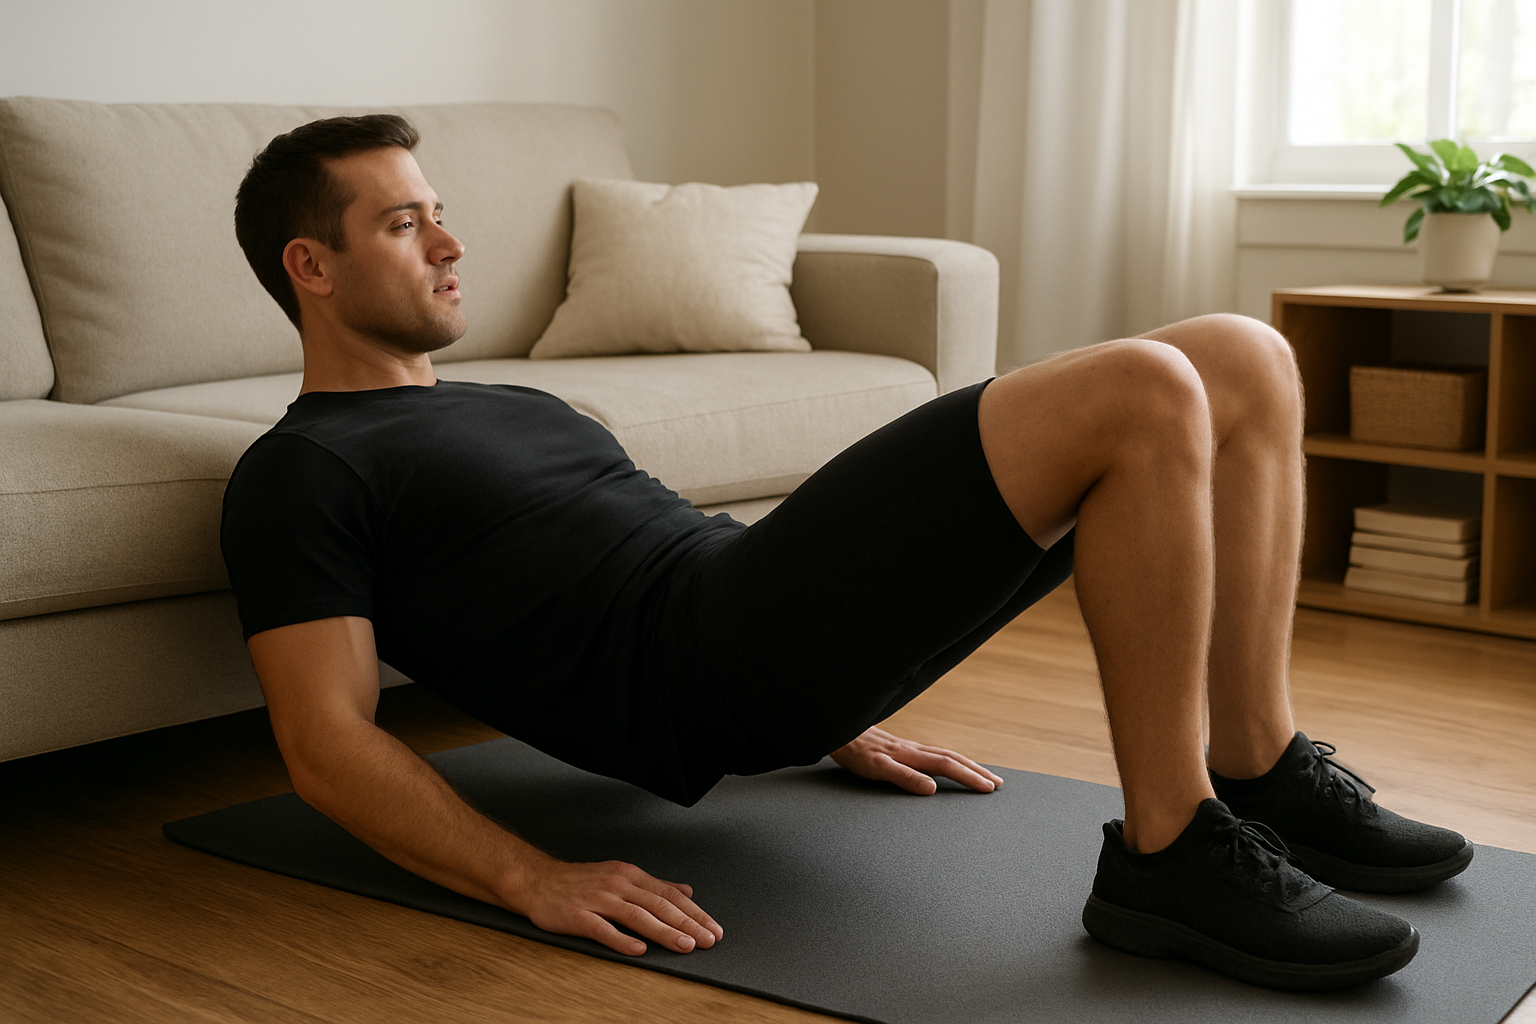
To do hip thrusts at home, support your upper back on a stable sofa or bench, place your feet flat, brace your core, and drive your hips upward until your body forms a straight line from shoulders to knees. Begin with body weight so you can learn the movement without losing control.
Hip thrusts train the glutes through a strong hip-extension pattern, but the setup matters as much as the lifting motion. This guide shows you how to choose a safe surface, position your body, perform each repetition, add resistance, and adjust the exercise if something does not feel right.
1. Prepare a safe home setup
Before you learn how to do hip thrusts at home, clear enough floor space to lie down and check every contact point. Your support must not slide, tip, collapse, or roll as you push through your feet.
- Support: Use a stable sofa, low bench, or sturdy bed base. A firm edge is easier to control than a very soft cushion.
- Surface: Exercise on a non-slip floor or place a properly secured mat underneath you.
- Padding: Keep a folded towel, cushion, or bar pad available if the front of your hips becomes uncomfortable.
- Resistance: Begin with body weight. Later, use a backpack filled with evenly distributed items, a dumbbell, kettlebell, or resistance band.
Test the support with a few gentle body-weight movements before loading the exercise. If it shifts when you lean against it, choose a different surface rather than trying to stabilize it during the set.
If you are building a broader home routine, pair hip thrusts with exercises that train the rest of your lower body. A consistent beginner schedule is often more useful than adding many exercises at once; see how to set up a beginner gym workout schedule for a simple structure.
2. Set your starting position
Sit on the floor with your upper back facing the support. The lower edge of the sofa or bench should contact the area around your shoulder blades, not your neck. Bend your knees and place your feet about hip-width apart.
Keep your feet far enough away that your shins can become close to vertical at the top of the movement. The exact distance differs between people, so use the first few repetitions as a position check.
Position checkpoints
- Your shoulder blades are supported and your neck is free, not pressed into the edge.
- Your feet are flat, with pressure spread through the heel and the base of the toes.
- Your knees point in the same general direction as your toes.
- Your pelvis starts close to the floor without forcing your lower back into an exaggerated arch.
- Your arms can rest across your chest or on the floor for balance.
Keep your gaze forward or slightly toward your knees. This usually makes it easier to maintain a neutral neck than looking up at the ceiling.
3. Perform the hip thrust one repetition at a time
- Brace gently: Take a comfortable breath and tighten your abdomen as if preparing for a light push.
- Drive through your feet: Press the floor away while lifting your hips. Do not push from your toes or allow your feet to lose contact.
- Finish with your glutes: Raise your hips until your shoulders, hips, and knees form a broadly straight line.
- Pause briefly: Squeeze your glutes at the top for about one second while keeping your ribs from flaring upward.
- Lower slowly: Return your hips toward the floor under control. Avoid dropping into the bottom position.
The movement should come mainly from your hip joints. If you feel your lower back taking over, reduce the height of the lift, brace more deliberately, and avoid trying to push your hips higher than your body position allows.
Use a controlled rhythm: lift smoothly, pause, and lower for roughly two seconds. Quality repetitions are more useful than chasing a large number while your pelvis and ribs lose alignment.
The table below can help you identify what to change during practice.
| What to look for | Likely adjustment | Warning sign |
|---|---|---|
| Hips rise evenly | Keep both feet planted and slow the lowering phase | One side lifts or twists noticeably |
| Knees stay aligned | Use a slightly wider stance and press through the whole foot | Knees collapse inward repeatedly |
| Glutes feel active | Move the feet a little closer or farther and retest | Sharp pain in the knee, hip, or back |
| Ribs stay controlled | Exhale gently near the top and reduce the range | Lower back arches strongly to finish |
4. Choose sets, repetitions, and progression
For a first session, perform 2 sets of 8–12 repetitions with body weight. Leave several controlled repetitions in reserve rather than training until your form breaks down. If the movement feels easy and stable for several sessions, progress one variable at a time.
- Add a third set while keeping the same repetition range.
- Increase the pause at the top to two or three seconds.
- Use a light resistance band above the knees, provided you can keep the knees aligned.
- Add a light, stable object across the hip crease with a towel for comfort.
- Move from two-leg hip thrusts to single-leg variations only after you can control the standard version.
For external weight, a backpack can work when it lies securely across the pelvis and its contents cannot shift. Avoid placing a hard, narrow object directly on the hip bones. Increase resistance gradually and stop the set if you must compensate with your lower back.
5. Troubleshoot the most common problems
If you feel the exercise mostly in your thighs
Check whether your feet are too close to your hips. Move them slightly forward and test a few repetitions. You can also reduce the range of motion and focus on driving the hips upward rather than pushing the knees forward.
If your hamstrings cramp
Hamstring cramping can occur when the feet are positioned poorly or when you are trying to finish the movement by pulling with the legs. Move the feet a small amount, keep the heels grounded, and use a smaller lift. Stop if the cramp persists or becomes painful.
If your lower back feels strained
Do not force the top position. Keep your ribs stacked over your pelvis, brace lightly, and finish when your glutes are contracted without your spine extending further. Persistent or worsening pain is a reason to stop and seek advice from a qualified health professional.
If the sofa moves
Do not continue with that setup. Place the support against a stable wall only if doing so makes it genuinely secure, or switch to a floor-based glute bridge until you have a safer option.
6. Avoid these common mistakes
- Using an unstable surface: A comfortable sofa is not automatically a safe support.
- Overarching at the top: Higher hips do not necessarily mean better glute work.
- Rushing repetitions: Momentum can hide poor foot placement and loss of pelvic control.
- Letting the knees cave inward: Reduce resistance and use a stance that allows consistent alignment.
- Loading too soon: Learn the body-weight pattern before adding a backpack or weight.
- Ignoring pain: Muscle effort and mild fatigue are different from sharp, persistent, or radiating pain.
7. Use advanced variations carefully
Once regular hip thrusts are controlled, you can make them more challenging without immediately adding heavy resistance. Single-leg hip thrusts increase the balance and coordination demand, while paused repetitions increase time under tension.
For small home spaces, you can combine hip thrusts with quiet movements such as floor-based strength work. If you want a low-noise conditioning session as well, review these cardio workouts for small apartments and keep the strength and cardio demands manageable.
Advanced variations are not required for progress. Choose the simplest version that allows you to feel the target muscles and repeat the same technique consistently.
8. Follow this home hip-thrust checklist
- Clear the floor and test that the support cannot slide.
- Place the support below your shoulder blades, not your neck.
- Keep both feet flat and begin with a hip-width stance.
- Brace your abdomen and keep your ribs controlled.
- Lift until your glutes contract without forcing your back into an arch.
- Pause briefly, then lower with control.
- Record which foot position feels strongest and most comfortable.
- Stop if you experience sharp, worsening, or radiating pain.
9. Take your next steps
For your next workout, test the body-weight version for 2–3 sets of 8–15 repetitions. Film one set from the side if possible, then check whether your support stays stable, your knees track evenly, and your lower back remains controlled at the top.
After you can repeat the movement with consistent form, choose either more repetitions, an extra set, a longer pause, or light resistance. Change only one factor at a time so you can tell what your body is responding to.
Learning how to do hip thrusts at home is mainly a matter of secure setup, repeatable alignment, and gradual progression. Use a stable surface, keep the finish controlled, and let your technique—not the amount of weight—decide when you are ready to advance.