To improve grip strength without equipment, train your hands and forearms with short, controlled squeezing, pinching, finger-extension, and bodyweight-hold exercises two or three times per week. Focus on several types of grip rather than repeating only hard fist squeezes.
Grip strength supports everyday tasks, climbing, calisthenics, lifting, racquet sports, and many other activities. The most useful approach is to begin with pain-free movements, record simple performance markers, and gradually increase time, repetitions, or difficulty.

1. Prepare your hands, wrists, and training space
You do not need a hand gripper or weights, but you do need enough space to move your fingers and wrists freely. A stable wall, sturdy table, or properly installed pull-up bar can help, although the first exercises require no external object at all.
Begin with two or three minutes of gentle preparation:
- Open and close your hands slowly for 15–20 repetitions.
- Circle each wrist in both directions without forcing the range of motion.
- Spread your fingers wide, relax them, and repeat 10 times.
- Shake out your hands and check for existing pain, numbness, swelling, or unusual weakness.
Warm-up movements should feel easy. If your hands are recovering from an injury, surgery, or prolonged immobilization, use guidance from a clinician or hand therapist rather than copying a general strength routine. NHS hand-therapy guidance also emphasizes gentle movement and avoiding painful force during hand exercises. Read the Royal United Hospital hand-exercise guidance.
2. Train the main types of grip
“Grip strength” is not one single quality. Crushing grip involves closing the fingers and palm, pinch grip uses the fingertips and thumb, support grip helps you hold your body or an object, and wrist strength keeps the hand stable while force is applied.
Use the table below to make your routine more balanced.
Match each exercise to the grip quality it develops and the warning sign that means you should reduce the challenge.
| Exercise focus | What to look for | Warning sign |
|---|---|---|
| Crushing grip | Even pressure through the fingers and palm | Knuckle pain, cramping, or wrist bending sharply |
| Pinch grip | Thumb presses against fingertips without collapsing the wrist | Sharp pain at the thumb joint |
| Finger extension | Fingers spread under control and return smoothly | Joint irritation or loss of finger control |
| Support grip | Shoulders stay controlled while the hands bear load | Shoulder pain, swinging, or slipping |
| Wrist isometrics | Firm contraction with little or no joint movement | Wrist pain, tingling, or increasing numbness |
3. Build crushing grip with controlled fist squeezes
Make a relaxed fist, then tighten it gradually for five seconds. Squeeze firmly but do not clench your jaw, bend your wrist, or hold your breath. Open the hand fully after each repetition.
- Extend your arm comfortably or rest it on your thigh.
- Close the fingers until the fingertips contact the palm.
- Increase pressure over two seconds.
- Hold for five seconds, then release slowly.
- Repeat 8–12 times per hand.
Complete two rounds at first. When you can perform 12 smooth repetitions without cramping, increase the hold to eight or ten seconds rather than squeezing recklessly harder.
Checkpoint
Your hand should relax completely between repetitions. If the fingers remain stiff or you cannot open the hand normally afterward, reduce the number of repetitions or shorten the hold.
4. Add fingertip and pinch-strength exercises
Pinch work shifts more of the demand toward the thumb and fingertips. Touch the thumb to the index finger and press them together for five seconds. Repeat with the middle, ring, and little fingers.
For a second variation, form a small “O” with the thumb and index finger, then try to pull them apart with the other hand while the working fingers resist. Keep the resistance light and steady. This is an isometric exercise, meaning the muscles contract without visible joint movement.
- Perform 3–5 seconds per finger pairing.
- Complete 2–3 rounds on each hand.
- Keep the wrist straight and the thumb relaxed between efforts.
Do not force the thumb into an extreme position. If you have thumb arthritis or pain at the base of the thumb, ask a healthcare professional for an appropriate modification.
5. Strengthen the fingers in the opposite direction
Many grip drills repeatedly close the hand. Finger-extension work helps you train the muscles that open and spread the fingers, which can improve balance in your routine and reduce the temptation to overuse squeezing exercises.
Place your hand flat on a table, palm down, and lift one finger at a time a small distance. Keep the other fingers relaxed against the surface. Perform 6–10 lifts per finger, then switch hands.
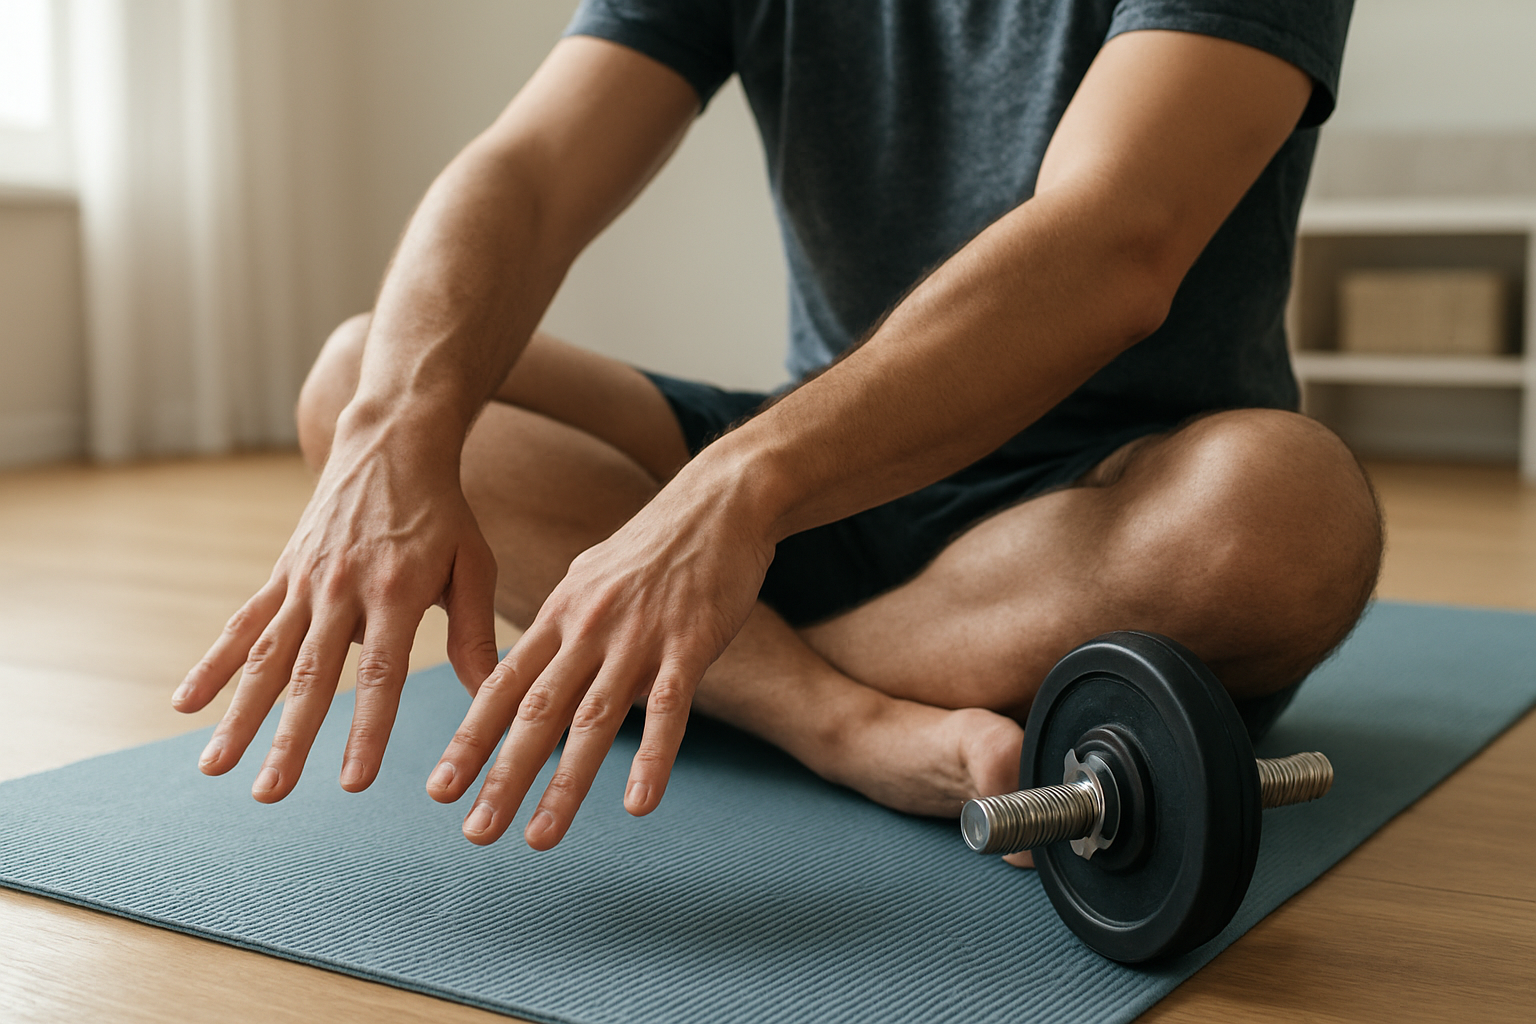
You can also press your fingertips together and attempt to spread them apart while the fingers resist one another. Hold for three to five seconds. The effort should be moderate, not a painful stretch.
For general wrist and hand-conditioning examples, see the University Hospitals Sussex hand-exercise resource.
6. Use bodyweight holds only when the setup is secure
If you have a secure pull-up bar, a short dead hang can train support grip without adding weights. Test the bar first, check that it is properly installed, and keep the initial effort very brief.
- Stand beneath the bar and grip it with both hands.
- Keep your shoulders gently active rather than allowing them to shrug completely upward.
- Use your feet on the floor or a box for a partial hold if a full hang is too difficult.
- Hold for 5–15 seconds, rest, and repeat 2–4 times.
Stop immediately if you feel shoulder instability, sharp elbow pain, numbness, or a slipping grip. A full hang is optional; a supported hold is often a better starting point.
This exercise fits naturally alongside bodyweight training. If you are deciding between broader training styles, our guide to calisthenics versus weight training for beginners explains how grip-demanding movements fit into a complete plan.
7. Follow a simple progression plan
Train grip after a general workout or as a short standalone session. Two sessions per week are enough for most beginners, while three lighter sessions may work if your hands recover well.
Use this four-week template:
- Week 1: Two rounds of fist squeezes, fingertip presses, finger lifts, and wrist isometrics.
- Week 2: Add two repetitions per exercise or extend each hold by two seconds.
- Week 3: Add a third round to one or two exercises, not all of them.
- Week 4: Keep the volume steady and use a harder variation, such as longer supported hangs.
Progress only one variable at a time: duration, repetitions, rounds, or exercise difficulty. ACSM resistance-training guidance supports gradual progression rather than sudden increases in training demand. Review the ACSM progression models for healthy adults.
Common mistakes that limit progress
- Training through sharp pain: Muscle fatigue is different from joint pain, tingling, or numbness.
- Using only fist squeezes: Include pinch, extension, wrist, and support-grip work.
- Adding volume too quickly: Hands and tendons may need more recovery than you expect.
- Ignoring the wrist: A bent wrist often makes the exercise less controlled and less comfortable.
- Testing maximum grip every day: Track performance once weekly instead of repeatedly exhausting your hands.
- Neglecting the rest of your program: Pulling, carrying, and bodyweight movements can provide useful grip practice too.
What if your grip is weak, painful, or uneven?
If one hand is suddenly much weaker, or weakness comes with numbness, loss of coordination, severe swelling, or an injury, seek medical advice promptly. Persistent pain during ordinary hand use also deserves assessment rather than repeated self-testing.
For mild training fatigue, take 48 hours away from hard grip work and use gentle hand opening and wrist movement. If symptoms continue or worsen, consult a qualified healthcare professional. Exercises prescribed after hand or wrist injury should follow the specific instructions you were given.
Your practical grip-strength checklist
- Warm up your fingers and wrists for two or three minutes.
- Choose one crushing-grip, one pinch, one extension, and one wrist exercise.
- Use controlled holds of three to ten seconds.
- Stop before your technique becomes strained or painful.
- Rest at least one day between harder sessions.
- Record repetitions, hold times, and any symptoms.
- Progress gradually instead of chasing a maximum effort.
Next actions
Today, complete two easy rounds of fist squeezes, fingertip presses, finger lifts, and wrist isometrics. Write down your repetitions and the longest pain-free hold. Repeat the same routine in two or three days, then increase only one small element when both hands feel normal afterward.
Once your grip routine is consistent, pair it with a balanced fitness plan. You can review shoulder exercises for building muscle at home or explore the beginner-friendly home 5K plan to develop more than hand strength alone.
Frequently asked questions
How often should I train grip strength without equipment?
Start with two sessions per week and allow at least one rest day between demanding sessions. If you add light finger-extension work on other days, keep it easy and stop if your hands become sore.
Can push-ups improve grip strength?
Push-ups train the hands and wrists to tolerate pressure, but they are not a complete grip program. Add squeezing, pinching, extension, and holding exercises for broader development.
How long does it take to notice improvement?
Some people notice better control or endurance before they see a large increase in maximum strength. Use consistent measures, such as a pain-free hold time or repetition count, and compare results every few weeks rather than daily.
The best way to improve grip strength without equipment is to train several grip patterns consistently, progress in small steps, and treat pain or neurological symptoms as a reason to pause and seek guidance.