To do a proper deadlift for beginners, start with a light weight, hinge at your hips, keep the bar close to your legs, brace your trunk, and stand by driving your feet into the floor. The goal is controlled movement—not lifting the heaviest weight possible.
The deadlift is a hip-dominant exercise that trains your glutes, hamstrings, back, and grip. It can also teach you how to lift objects from the floor with better control. This guide walks you through preparation, setup, execution, form checks, troubleshooting, and a sensible way to progress.
1. Prepare your body, equipment, and starting load
Before learning the barbell deadlift, make sure you can perform a basic hip hinge. Stand with your feet about hip-width apart, place your hands on your hip creases, and push your hips backward while keeping a soft bend in your knees. Your torso should lean forward as your hips travel back; this is different from dropping straight down into a squat.
Use a stable barbell, dumbbells, or kettlebell on a non-slip surface. If you are using a barbell with small plates that do not raise it to a standard height, place the bar on secure blocks or safety pins rather than forcing an uncomfortable range of motion.
- Begin with an empty bar, light dumbbells, or a raised starting position.
- Wear stable shoes with a firm, relatively flat sole.
- Keep enough space around you to set the weight down safely.
- Record a side-view video if possible so you can review your back position and bar path.
A useful starting point is 2–3 sets of 5 controlled repetitions. Stop each set while you still have several technically sound repetitions available.
2. Set your feet and find the correct stance
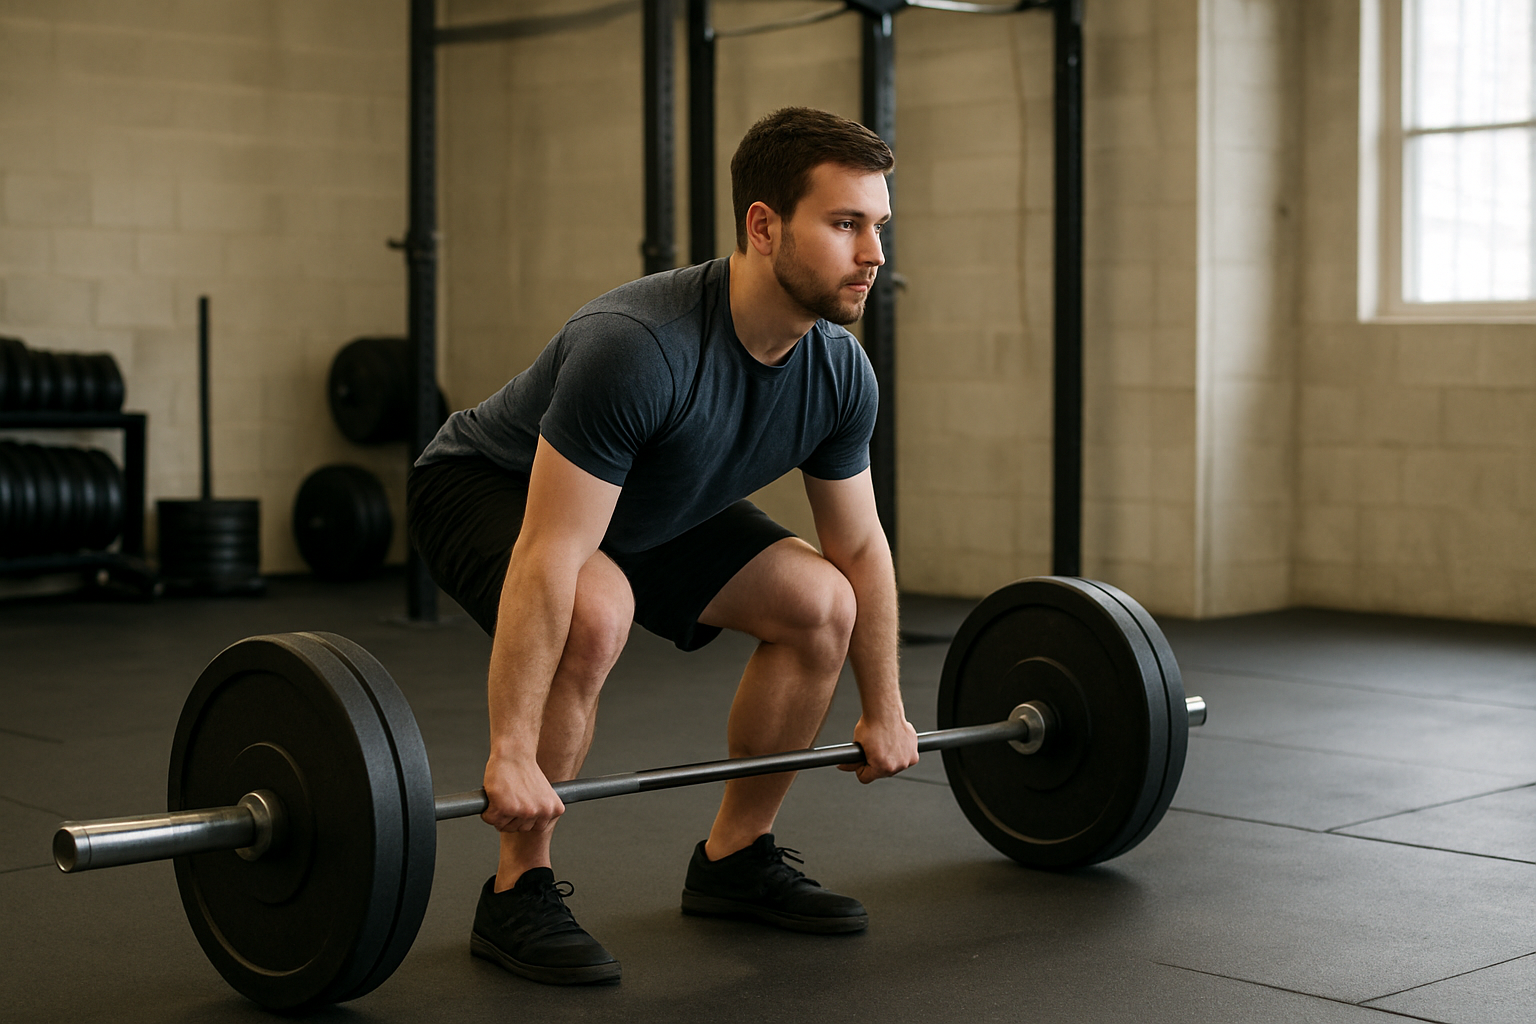
Stand with the bar over the middle of your feet. From a side view, the bar should be roughly above the area where your shoelaces are tied, not pressed against your shins before you begin. Your feet are usually hip-width apart for a conventional deadlift, with toes pointing forward or slightly outward.
Different body proportions may require a small stance adjustment. The best stance is the one that lets you keep the weight balanced over your mid-foot, maintain control, and reach the bar without rounding aggressively.
Checkpoint: your starting position
- Your feet are balanced and your weight is spread across the whole foot.
- Your shoulders are slightly in front of the bar.
- Your hips are neither forced very low nor excessively high.
- Your arms hang straight down from your shoulders.
3. Build tension before the weight leaves the floor
Hinge backward and bend your knees just enough to reach the bar. Keep your hands just outside your legs. Grip the bar firmly, then brace as though you are preparing for a light punch to the abdomen.
Before pulling, gently take the slack out of the bar. This means creating tension through your hands, arms, shoulders, trunk, and legs without jerking the weight upward. Keep your lats engaged by imagining that you are trying to pull the bar toward your body.
For most beginners, a double-overhand grip is the simplest place to start. A mixed grip can feel stronger, but changing grip styles is not necessary while you are still learning the movement.
4. Lift with your legs and hips together
Push the floor away while keeping the bar close to your legs. Your hips and shoulders should rise together during the first part of the lift. Do not yank the bar, shoot your hips upward, or let the weight drift away from your body.
As the bar passes your knees, continue extending your hips until you are standing tall. Finish with your ribs stacked over your pelvis and your glutes gently contracted. You do not need to lean backward or thrust your hips aggressively at the top.
Checkpoint: the ascent
- The bar travels upward in a controlled, mostly vertical path.
- Your back position stays stable rather than changing suddenly.
- Your knees move out of the bar’s path without collapsing inward.
- Your shoulders and hips reach the standing position together.
The NSCA deadlift technique resource provides a useful visual reference, while the ACE exercise library deadlift guide outlines the basic movement and setup.
5. Lower the weight with the same control
Start the descent by pushing your hips backward. Once the bar passes your knees, bend your knees more and guide the weight toward the floor. Keep the bar close and stay braced until the repetition is complete.
Do not treat the lowering phase as an afterthought. Dropping or bouncing the weight can make it harder to reset your position and may encourage you to lose control. If the bar is too heavy to lower smoothly, reduce the load.
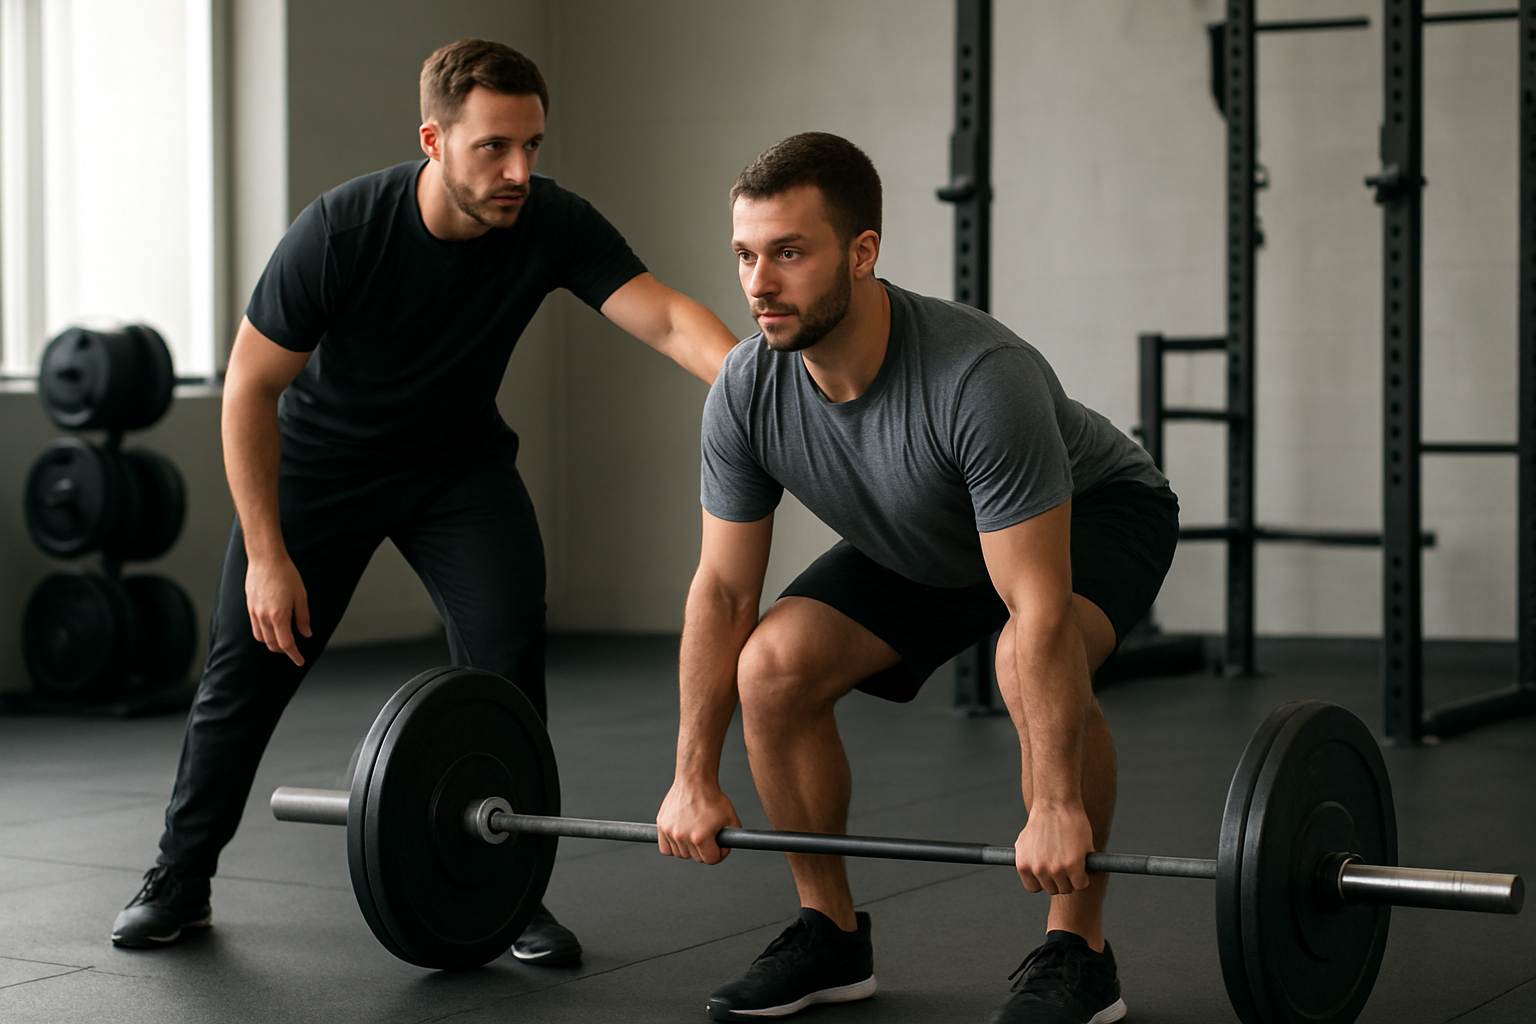
For floor-based repetitions, allow the weight to settle briefly before the next lift. Reset your feet, brace again, and repeat rather than rushing through several loose repetitions.
6. Use this form comparison table during practice
Review one or two checkpoints at a time. Trying to correct every detail simultaneously can make the movement feel confusing.
| What to look for | Useful cue | Warning sign |
|---|---|---|
| Bar position | Keep it close to your legs | The bar swings forward away from your body |
| Spine and trunk | Brace and keep your torso controlled | Your back rounds or snaps into a new position |
| Hip movement | Push your hips back, then drive them forward | You squat straight down or lift mainly with your lower back |
| Shoulders and hips | Let them rise together initially | Your hips shoot up before the bar moves |
| Lockout | Stand tall with ribs stacked over pelvis | You lean back or overextend your lower back |
| Speed | Use a smooth, repeatable tempo | You jerk the bar or lose position to complete a repetition |
7. Fix the most common beginner problems
Your back rounds at the bottom
First reduce the range of motion by raising the weight. Then practice hip hinges and try to keep the bar closer to your body. Limited comfort, mobility, or control at the floor does not mean you must force a full-range deadlift immediately.
Your hips rise before the bar
You may be starting with your hips too low, using too much weight, or pulling without enough leg drive. Set your hips where your shoulders are slightly higher, brace firmly, and think “push the floor away” rather than “pull with my back.”
The bar drifts away from your legs
Keep your shoulders slightly in front of the bar and engage your upper back before lifting. Imagine keeping the bar connected to your body throughout the repetition. Loose arms and a rushed start often cause the bar to move forward.
You feel the movement mostly in your lower back
Some back-muscle involvement is normal, but sharp pain is not a technique target. Check that you are hinging at the hips, bracing, and finishing without leaning backward. If discomfort persists, stop the loaded movement and seek advice from a qualified health professional.
8. Progress only after your technique is repeatable
Add load only when you can complete your planned repetitions with the same setup, bar path, and controlled lowering phase. Small increases are preferable to large jumps, especially when you are still learning.
If lifting from the floor is difficult, use a progression such as:
- Bodyweight hip hinge.
- Dowel or wall hip-hinge drill.
- Elevated dumbbell or kettlebell deadlift.
- Light barbell deadlift from blocks or pins.
- Barbell deadlift from the floor.
Once the basic pattern is comfortable, you can explore related options. For example, an article on hamstring exercises may help you build supporting strength, while the comparison of deadlifts and hip thrusts explains how different hip-extension exercises can fit into a program.
9. Follow safety checks and know when to stop
Never continue a repetition that causes sharp, sudden, radiating, or worsening pain. Stop if you feel numbness, unusual tingling, loss of strength, dizziness, or a loss of control over the weight. Beginners with a current injury, recent surgery, pregnancy-related concerns, or a diagnosed medical condition should ask a qualified clinician how to modify training.
Seek prompt medical help for severe back symptoms or warning signs such as new bladder or bowel problems, numbness around the groin or inner thighs, or significant weakness in both legs. General back-pain guidance from the NHS explains why these symptoms require attention.
10. Use this beginner deadlift checklist
- Warm up with several unloaded hip hinges.
- Choose a load you can control from setup to floor.
- Place the bar over your mid-foot.
- Brace before the pull and take the slack out of the bar.
- Keep the bar close as you lift and lower.
- Keep your hips and shoulders coordinated.
- Finish tall without leaning backward.
- Reset between repetitions if your position changes.
- Stop the set when technique becomes inconsistent.
What if you cannot deadlift from the floor yet?
That is a normal starting point, not a failure. Raise the weight, reduce the load, or practice with dumbbells until you can maintain control. You can also ask a qualified strength coach to check your setup from the side and front.
Do not force your hands to reach the floor by rounding heavily or collapsing into the bottom position. The correct starting height is the one that allows a stable, repeatable hinge.
Your next actions
- Practice 8–10 unloaded hip hinges in front of a mirror.
- Complete 2–3 light sets of 5 deadlifts from an elevated position.
- Film one side-view set and check bar distance, hip position, and lockout.
- Repeat the session two or three times per week with at least one rest day between sessions.
- Lower the starting height or add a small amount of weight only when your form remains consistent.
Learning how to do a proper deadlift for beginners is mainly a process of controlling the hip hinge, maintaining tension, and progressing gradually. Start with the easiest variation that lets you keep those qualities, then build range, load, and confidence one step at a time.