To use a foam roller for sore legs, move slowly over the main muscle groups, pause briefly on tender areas, and keep the pressure uncomfortable but manageable rather than painful. Start with a light warm-up, work for about 30 to 60 seconds per area, and stop if you feel sharp pain, numbness, swelling, or unusual symptoms.
Foam rolling can be a practical part of recovery after training, long periods of sitting, or everyday activity. It may temporarily improve how your muscles feel and how easily you move, but it is not a substitute for rest, appropriate training adjustments, or medical care when an injury is possible. The steps below will help you decide where to roll, how much pressure to use, and what to do if the technique is uncomfortable.
1. Prepare your body, roller, and space
Choose a stable, firm surface with enough room to extend your legs. A standard foam roller is suitable for most beginners, while a softer roller may be more comfortable if you are very sensitive to pressure. A dense or textured roller can feel more intense, so it is not automatically the better choice.
Before you begin, take a few minutes to walk around or perform gentle leg movements. You do not need to stretch aggressively. The goal is simply to avoid starting with completely cold, stiff muscles and to notice whether your soreness feels like ordinary post-exercise discomfort or something more concerning.
- Wear clothing that allows the roller to move without bunching.
- Keep water nearby, but do not treat hydration as a way to push through pain.
- Use a wall, sofa, or your hands for support when you need to reduce pressure.
- Plan to roll after training, later in the day, or during a separate recovery session.
Check the type of soreness first
General muscle tenderness that affects both sides after unfamiliar or demanding exercise is often easier to manage with gentle movement and light rolling. Localized pain, a sudden injury, significant swelling, bruising, warmth, weakness, or pain that changes your walking pattern calls for more caution. Do not roll directly over an injured area simply because it feels tight.
2. Choose pressure and position before you roll
Lie or sit so you can control your body weight. The more weight you place on the roller, the stronger the pressure becomes. Beginners should start with both legs or with one leg partly supported by the floor, then progress only if the sensation remains controlled.
A useful standard is moderate pressure: you should feel the muscle being compressed, but you should still be able to breathe normally and relax your shoulders. Sharp, electric, burning, or radiating sensations are not signs that the technique is working better.
Use the following comparison to adjust your setup.
| Area or situation | What to look for | Warning sign | Adjustment |
|---|---|---|---|
| Calves | Pressure through the fleshy back of the lower leg | Direct pressure on the ankle, knee, or shin bone | Turn the leg slightly or support more weight with your hands |
| Hamstrings | A broad, tolerable sensation along the back of the thigh | Pulling behind the knee or tingling into the foot | Move higher on the thigh and reduce body weight |
| Quadriceps | Pressure through the front and outer thigh muscles | Pinching at the hip or kneecap | Stop before the hip and knee joints; reposition your pelvis |
| Glutes | Moderate pressure through the fleshy buttock area | Numbness or a shooting sensation down the leg | Use a smaller range of motion or stop the area |
3. Roll the calves with controlled passes
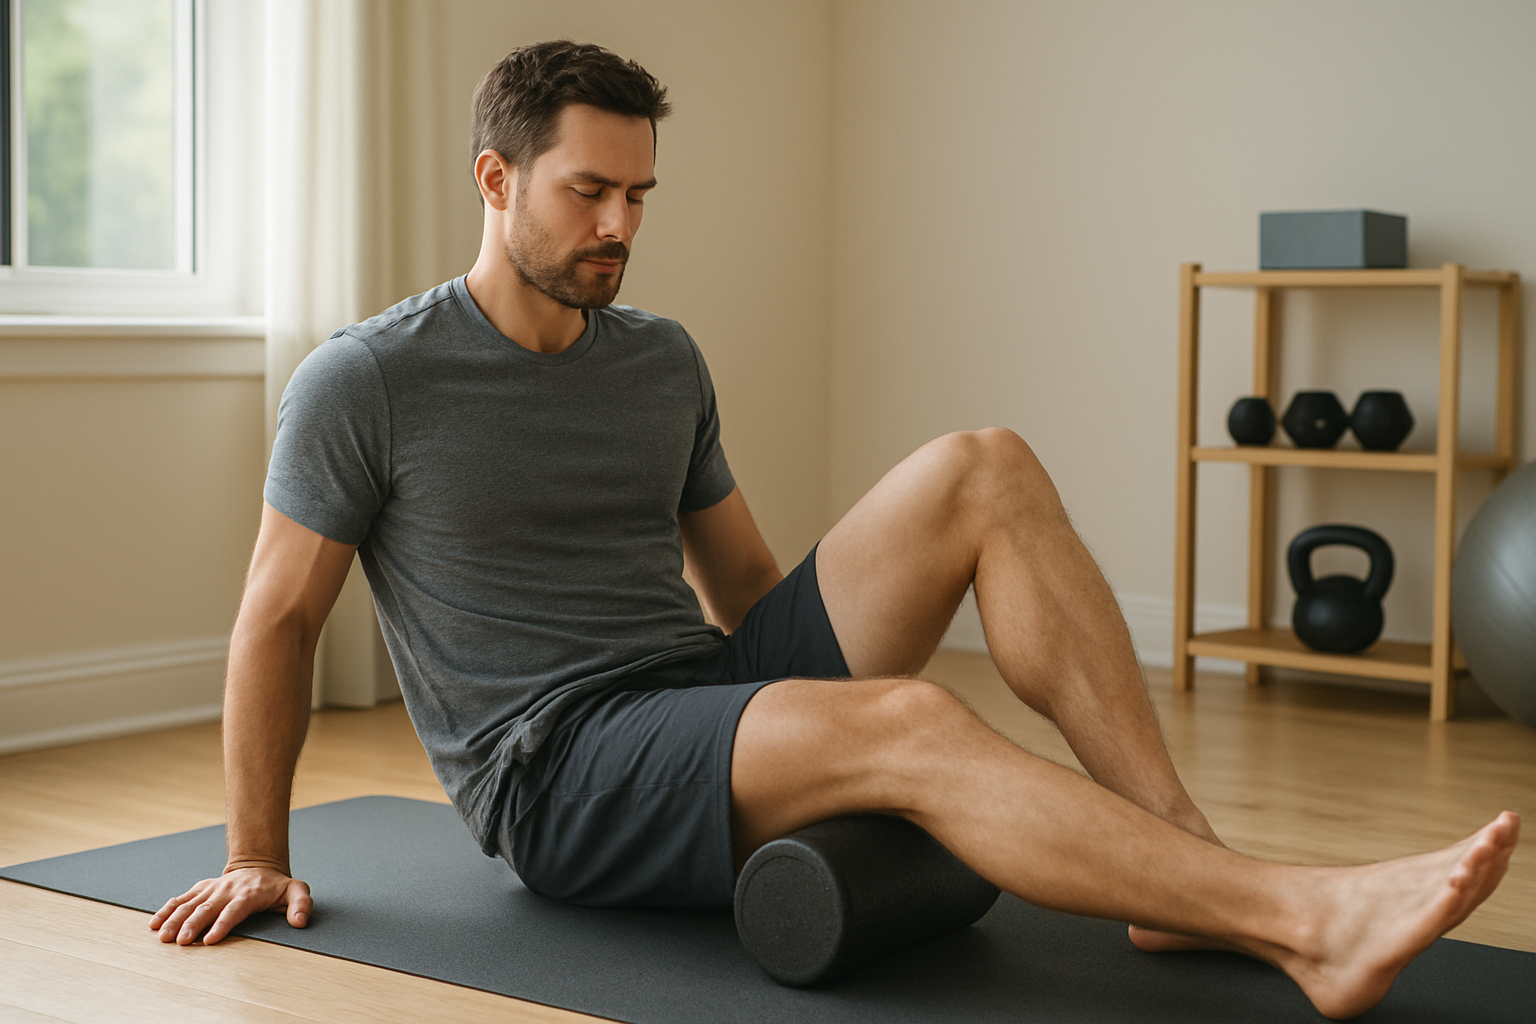
Sit on the floor with the roller under one calf. Place your hands behind you and keep the other foot on the floor. Lift your hips only as much as needed to create comfortable pressure, then roll from above the ankle toward just below the knee.
Use slow passes rather than rapid back-and-forth movement. After several passes, turn the leg slightly inward and outward to address different parts of the calf. If you find a tender point, pause for around 10 to 20 seconds while breathing normally, then move on.
Do not roll directly over the Achilles tendon, the back of the knee, or the shin bone. Switch sides and compare how each calf feels, but do not assume both sides need identical pressure.
4. Work through the hamstrings without forcing the stretch
Place the roller under the back of your thigh and support yourself with your hands. Keep the other foot on the ground so you can reduce pressure whenever the sensation becomes too strong. Roll from the lower portion of the thigh toward the area below the gluteal fold, stopping before the sitting bone and knee joint.
Keep the movement small at first. If the back of the knee feels pressured, move the roller higher onto the muscle. A tight-feeling hamstring can sometimes reflect fatigue, limited hip movement, or irritation elsewhere, so rolling should be one part of recovery rather than the only response.
5. Roll the quadriceps and outer thigh carefully
For the quadriceps, face the floor with the roller under the front of your thighs. Support your upper body on your forearms and use your arms and toes to control how much weight reaches the roller. Move between the area above the knee and the upper thigh, stopping before the hip crease.
Keep the kneecap off the roller. The outer thigh can feel especially sensitive because the tissue there is less forgiving of concentrated pressure. Instead of pressing as hard as possible, rotate your body slightly to bring pressure onto the fleshy outer quadriceps. If the sensation becomes sharp or bruised, reduce the load or skip that area.
6. Finish with the glutes and reassess your legs
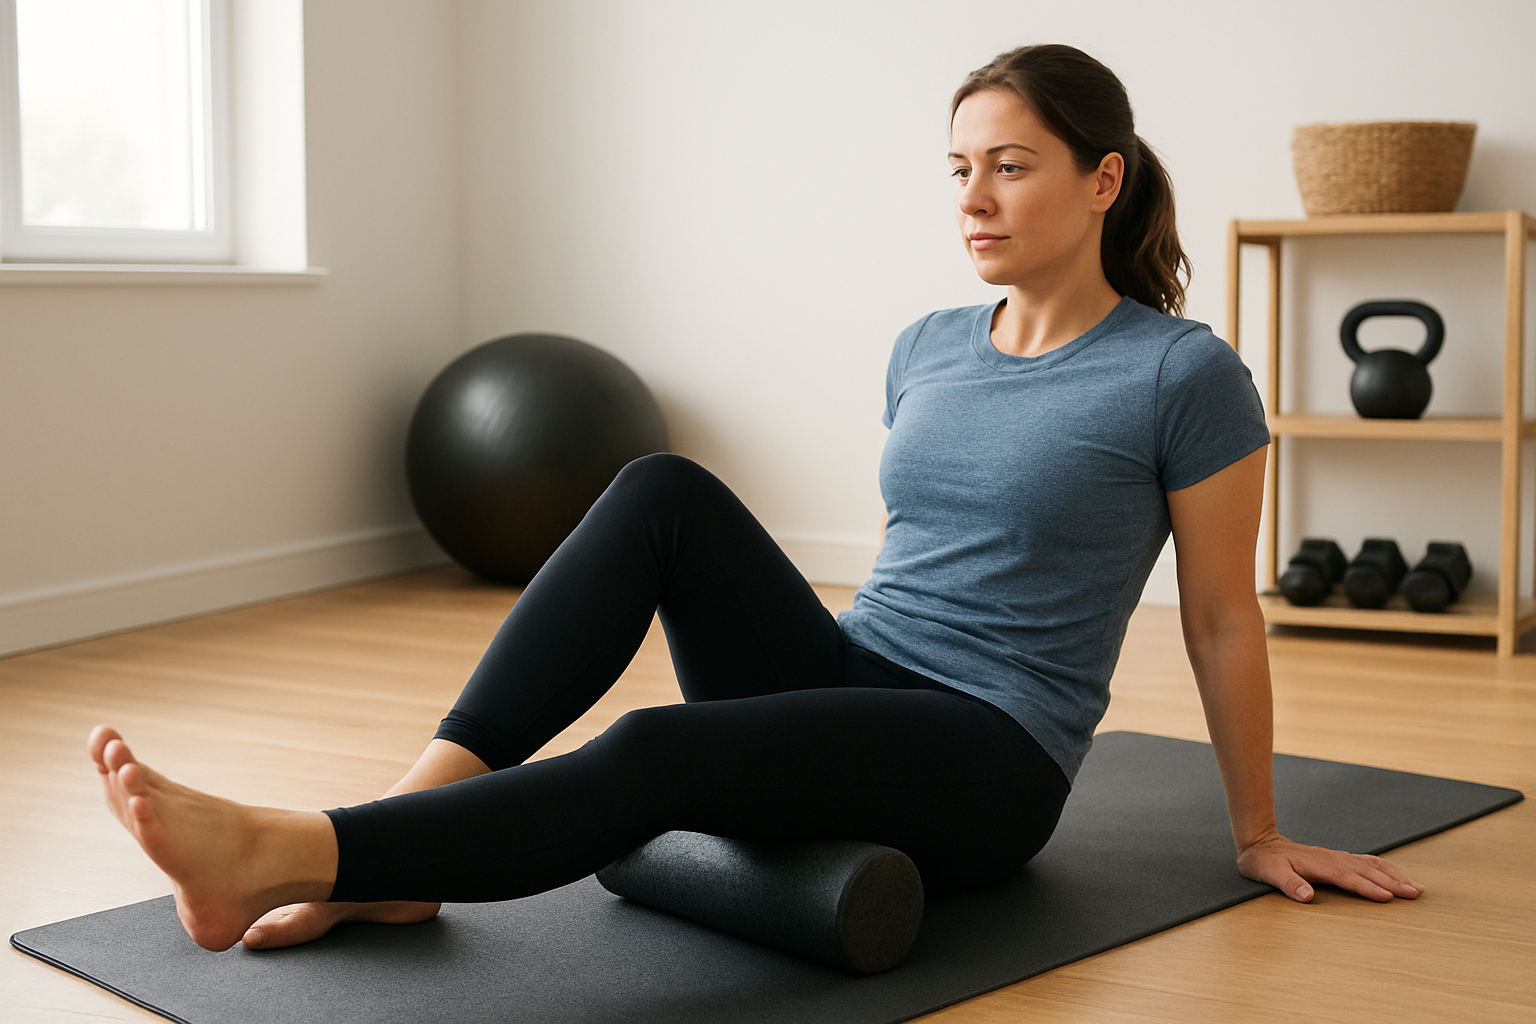
Sit on the roller with one foot planted and the opposite ankle crossed over the planted knee. Lean slightly toward the crossed side and make small, controlled movements through the gluteal muscles. Keep the pressure moderate and avoid rolling directly over the lower back, tailbone, or hip bone.
After both sides, stand up and walk for a minute. Notice whether your stride, range of motion, and general comfort have changed. A temporary improvement is a useful response, but it does not mean you should immediately repeat the workout or add more intensity.
7. Use a simple recovery schedule
For a first session, spend roughly 30 to 60 seconds on each major area and use one or two passes through the sequence. You can repeat gentle sessions on days when the muscles feel generally stiff, but more pressure and longer sessions are not automatically more effective.
- After training: Walk briefly, then roll the muscles that did most of the work.
- On a rest day: Use shorter, easier passes to support comfortable movement.
- Before exercise: Keep it brief and light; do not turn the warm-up into a deep-pressure session.
- After long sitting: Combine rolling with walking and gentle joint movement.
If your legs remain unusually painful, weak, swollen, or restricted, reduce training load and consider professional assessment. For additional recovery ideas, compare the options in these practical recovery tools for sore muscles.
Practical checklist before you finish
- I used a stable surface and could control my body weight.
- I rolled muscle tissue rather than joints, bones, or the lower back.
- I kept the pressure tolerable and continued breathing normally.
- I used slow passes and did not repeatedly attack one painful point.
- I walked afterward and checked whether movement felt better, unchanged, or worse.
Common mistakes that make foam rolling less useful
- Rolling too quickly: Fast movement makes it harder to control pressure and notice warning signs.
- Chasing severe pain: Pain is not a reliable measure of effectiveness. Back off when your body tenses or the sensation becomes sharp.
- Rolling directly over joints: Keep the roller on the surrounding muscle, not the knee, ankle, hip bone, or spine.
- Ignoring the rest of recovery: Sleep, food, rest days, and sensible training progression still matter.
- Using the same pressure on every area: Calves and outer thighs may need less pressure than larger muscle groups.
What if foam rolling makes your legs feel worse?
Stop the session and walk gently if the muscles feel mildly sensitive afterward. Avoid repeating pressure over a spot that develops increasing pain, bruising, swelling, numbness, or weakness. If symptoms followed a fall, twist, direct impact, or sudden change of direction, treat the problem as a possible injury rather than ordinary soreness.
Seek prompt medical advice for severe swelling, marked redness or warmth, inability to bear weight, significant weakness, new numbness, or pain that is severe or worsening. Sudden one-sided calf swelling and pain should not be self-treated with a foam roller; obtain medical guidance promptly.
Advanced tips for active people
If you train regularly, keep a simple note of which areas feel restricted and whether rolling changes movement. This can help you distinguish a useful short-term recovery routine from a habit that merely masks a problem. Pair rolling with gradual strength and mobility work rather than using it to compensate for repeated overload.
For example, after leg training, review your technique and recovery demands as well as your roller routine. If squats are part of your program, this barbell squat safety guide can help you examine setup and movement quality. If you are choosing equipment for home recovery, you can also compare foam rolling with other options such as massage guns for athletes.
Next actions
- Choose one easy session after your next demanding leg workout.
- Roll the calves, hamstrings, quadriceps, and glutes with light-to-moderate pressure.
- Record which areas felt useful and which felt irritated.
- Adjust pressure or skip any area that produces warning signs.
- If soreness repeatedly limits training or normal movement, seek guidance from a qualified healthcare professional.
Learning how to use a foam roller for sore legs is mainly a matter of control: select the right muscle, use manageable pressure, and reassess instead of forcing the session. When paired with sensible training and recovery habits, a short, comfortable routine is usually more practical than an aggressive one.